A nature stone speaker stand
A quick guide to making a speaker stand with a "nature stone" bottom and top.
Required materials cobbled together from a Tile shop where they sold it, alternatives are
garden shops where similar nature stones are for sale in various shapes.
I just happened to like these ones.
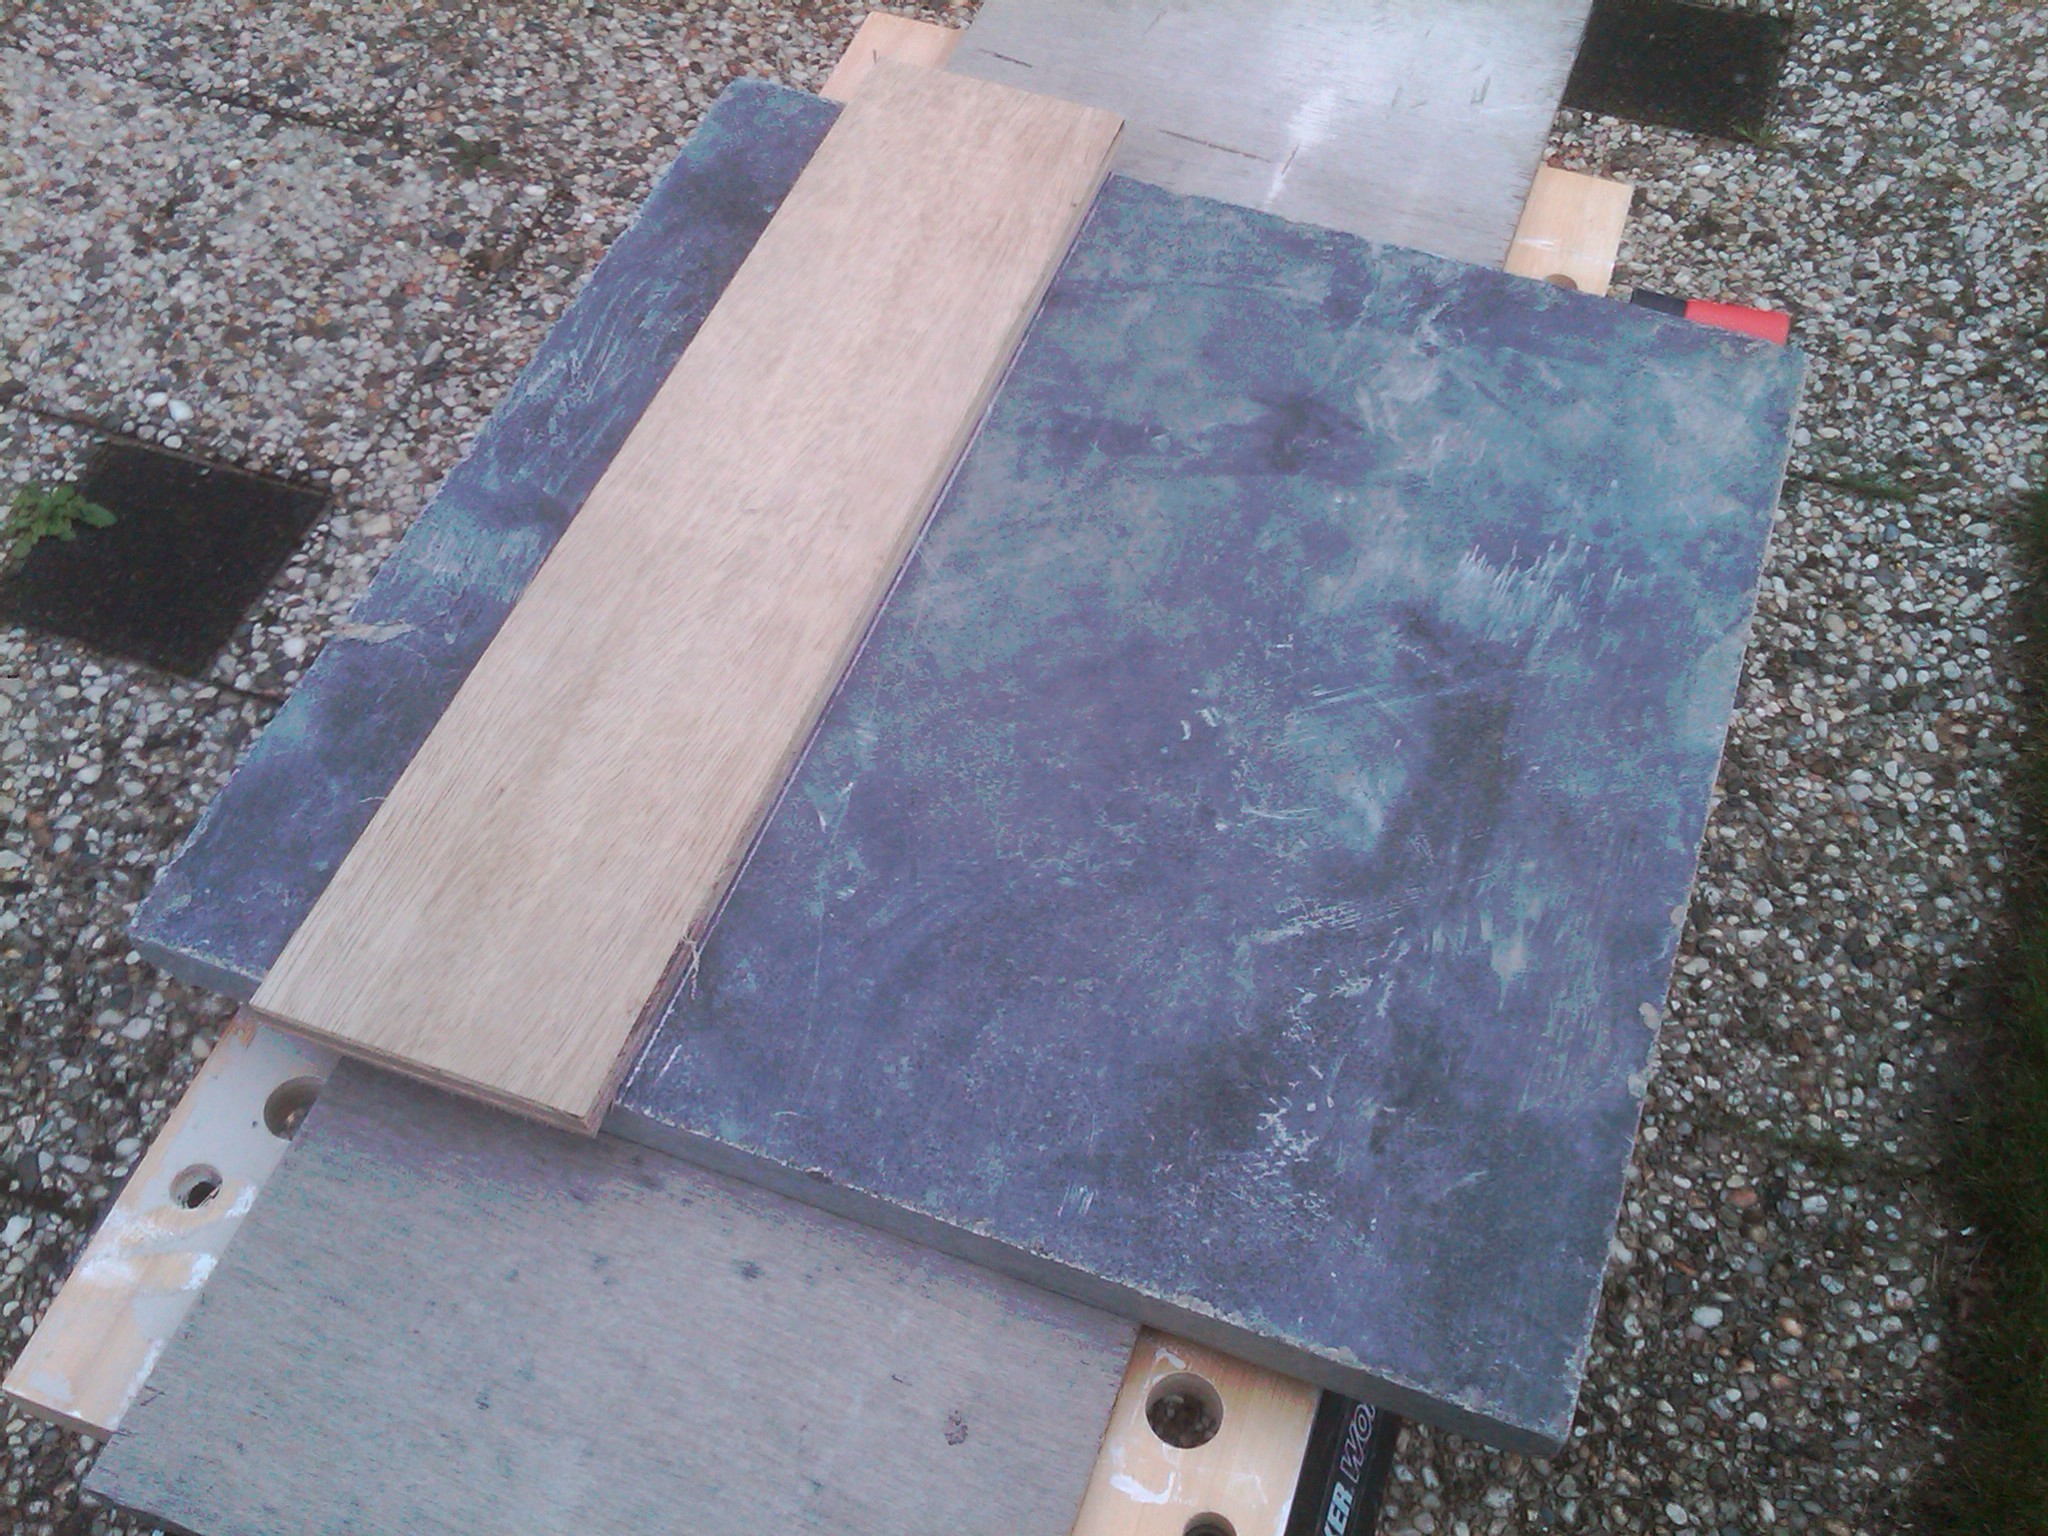
One of the missing ingredients is the hardwood pole to be used for the stand, I forgot to buy them before closing and
thus had to start the build without. The hardware store has these for table legs. They had a size of 87x87 mm,
which is about good 3 inches square. Length is 150 cm a piece, I will be using just a fraction of it at 45 cm, which makes
sure that the speakers should not come out above the cabinet.
Alternatives are the smaller stairways railing wood which was also for sale in different
lengths (upto 270cm), these were oval in shape and would have required atleast 2 poles, or 3 for being fancy. This requires more holes
and effort which I didn't fell up for.
That my girlfriend wanted the more robust look of the single piece pole also had something to do with that decision.
All the lousy quality photos are provided by my blackberry storm, but they are good enough for the purpose.
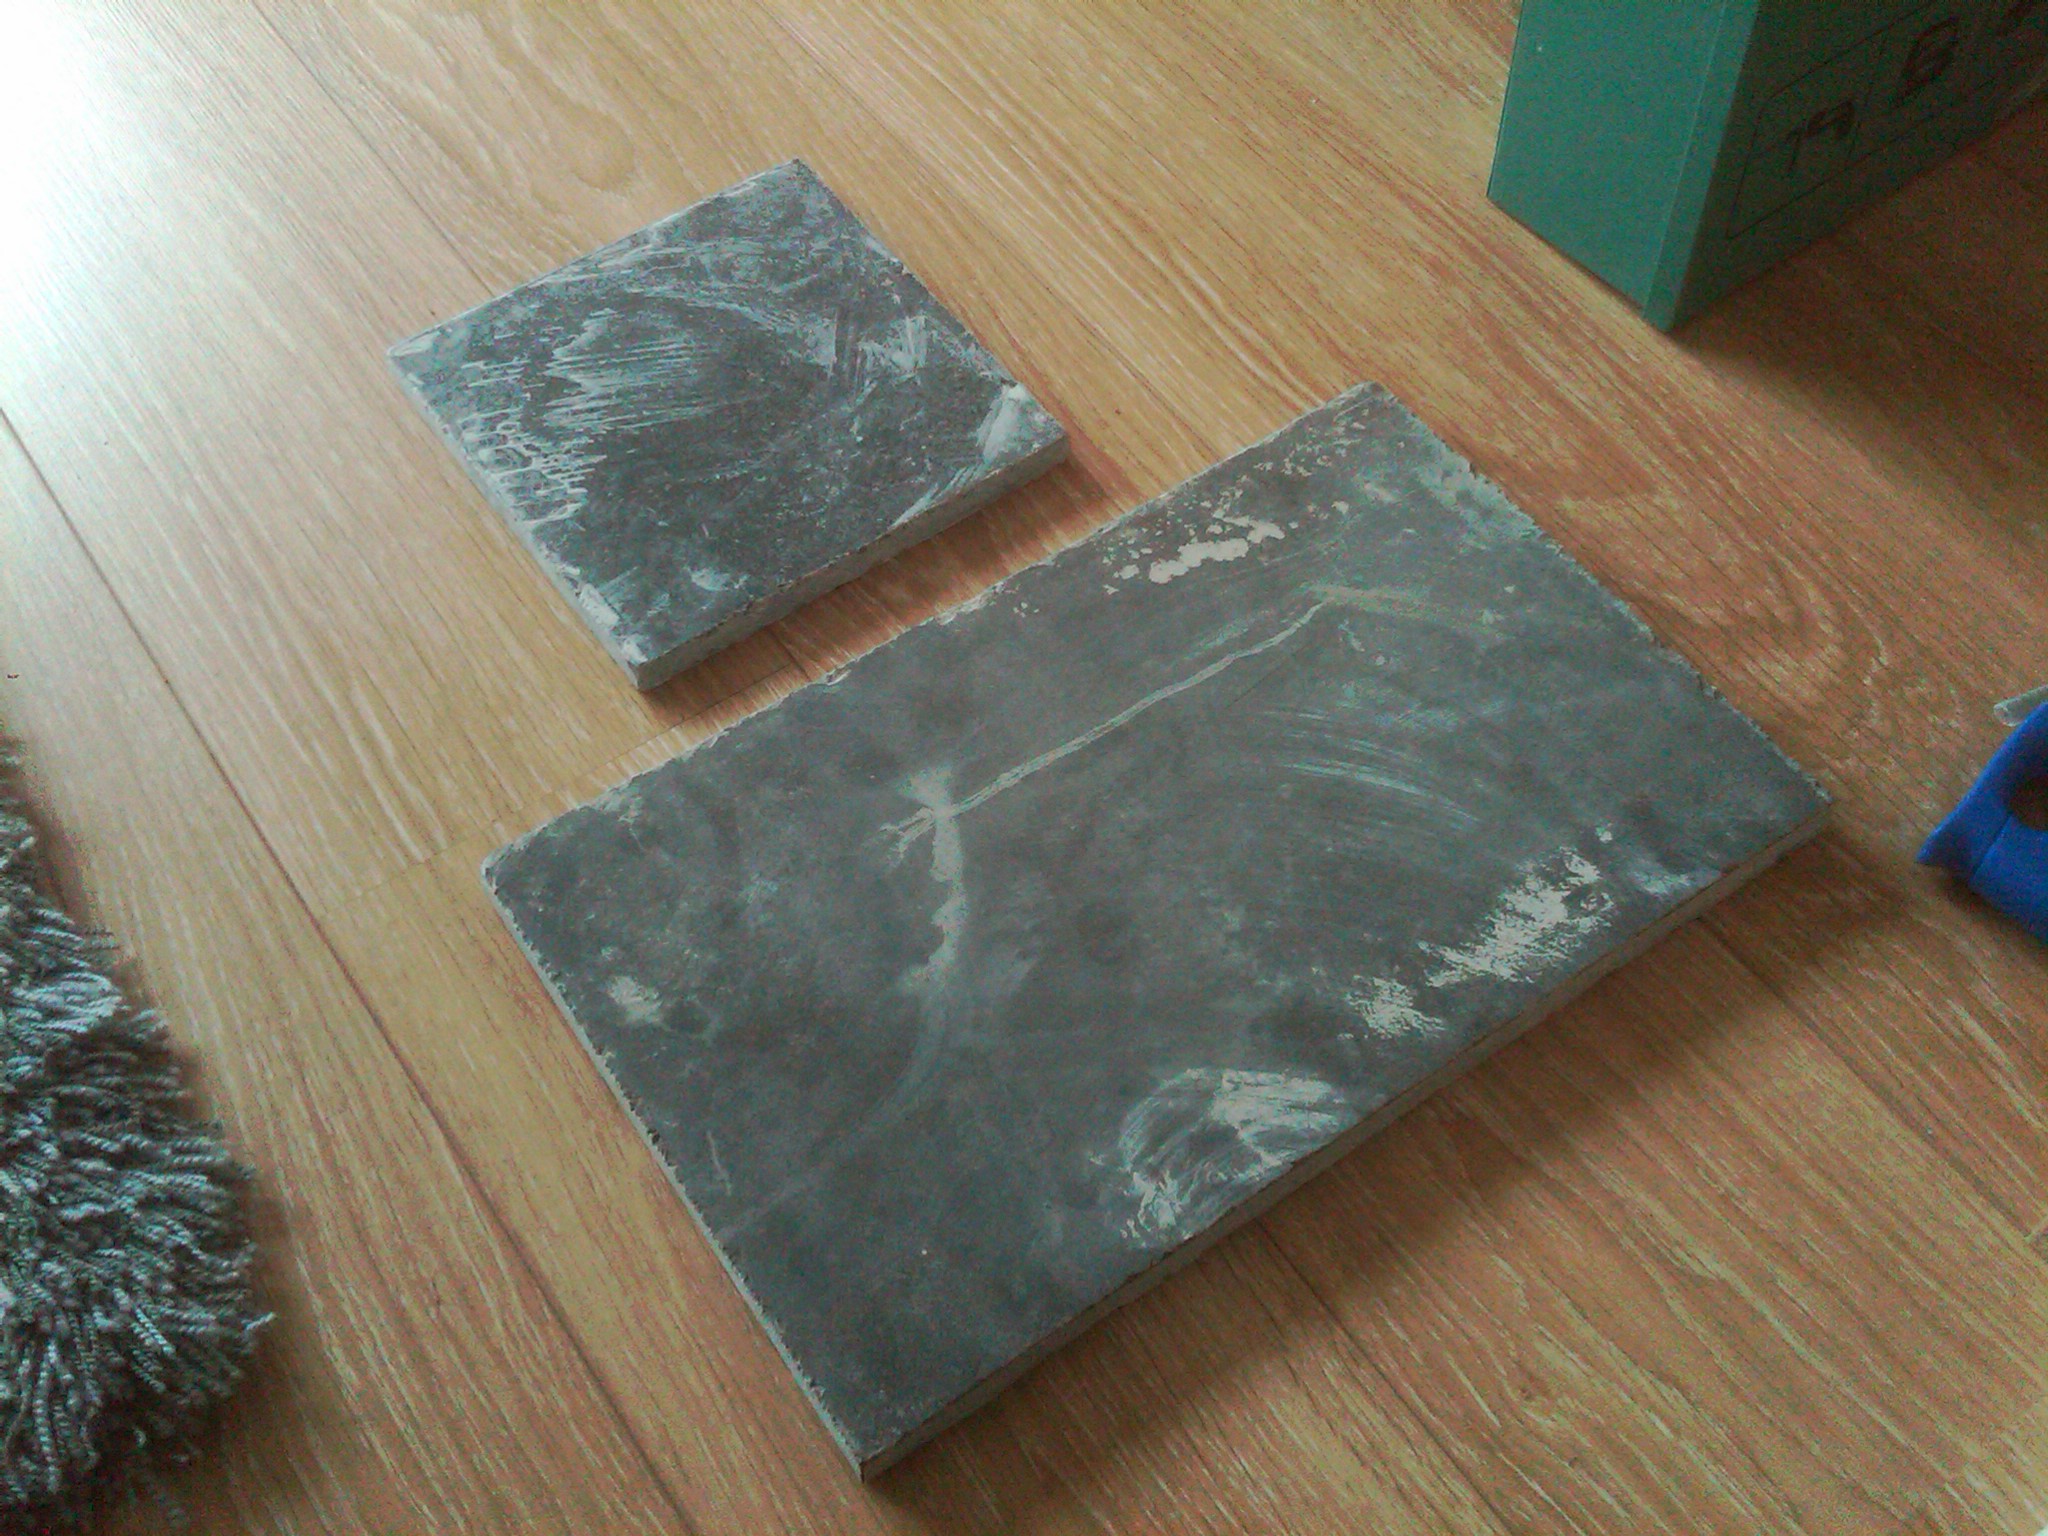
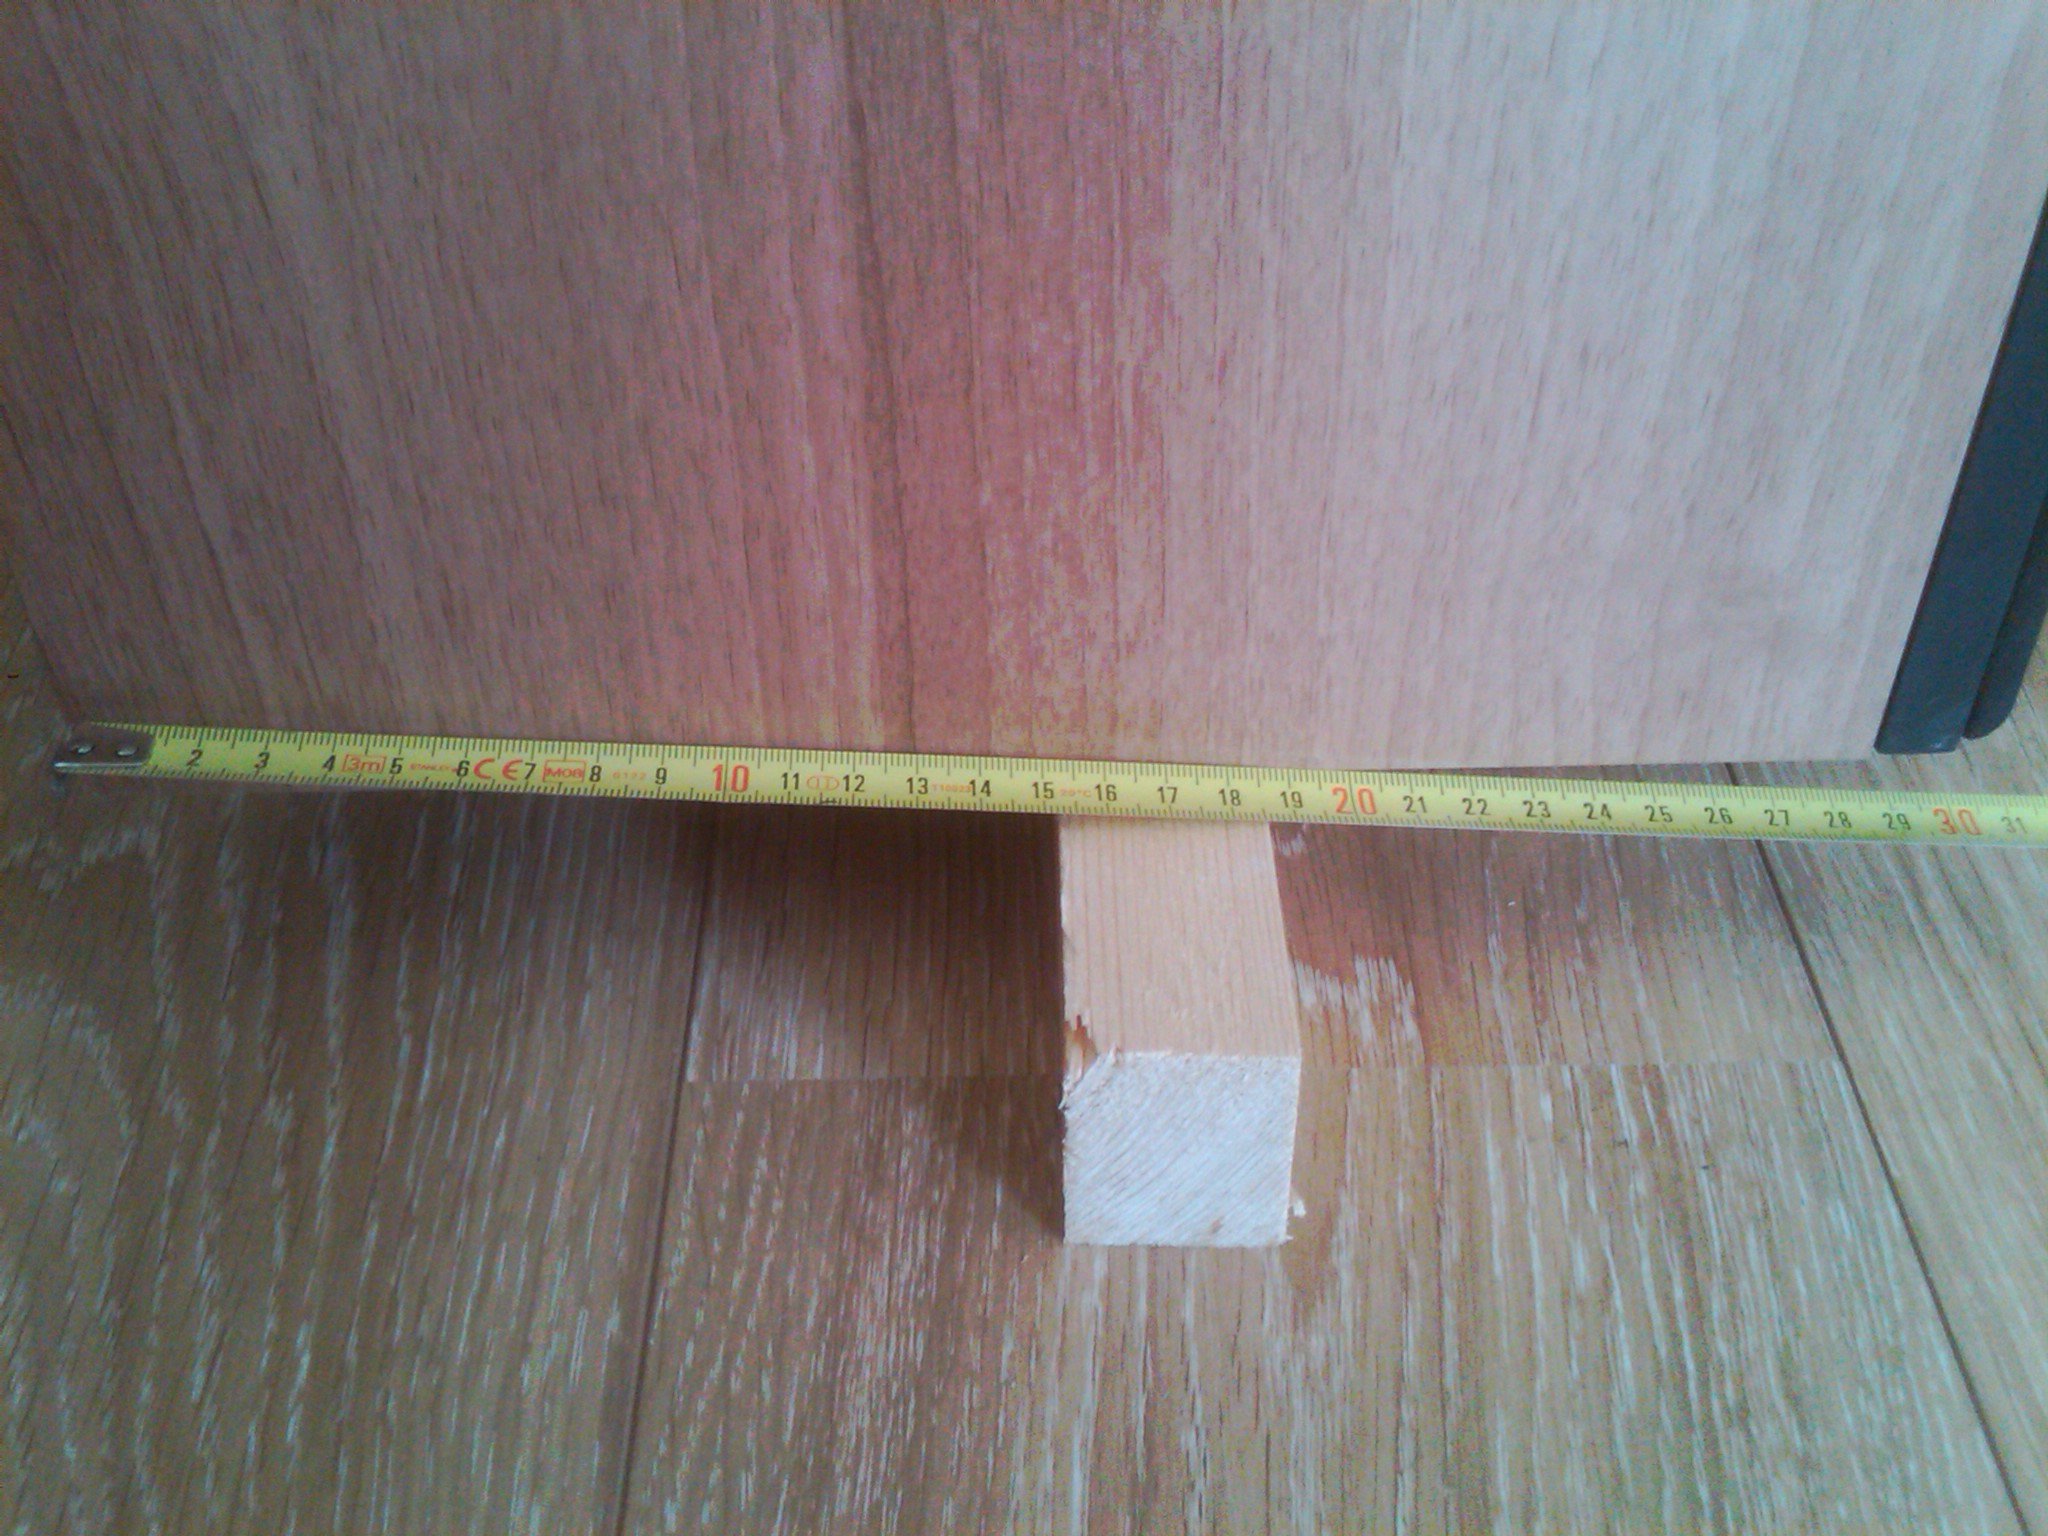
I started work by cutting the base 40x40 cm floor tile into a 25cm by 40cm tile. The speakers I have are 20cm wide and 34cm deep.
This should make the base a bit more stable, I also like the look of the slightly larger dimensions of the foot.
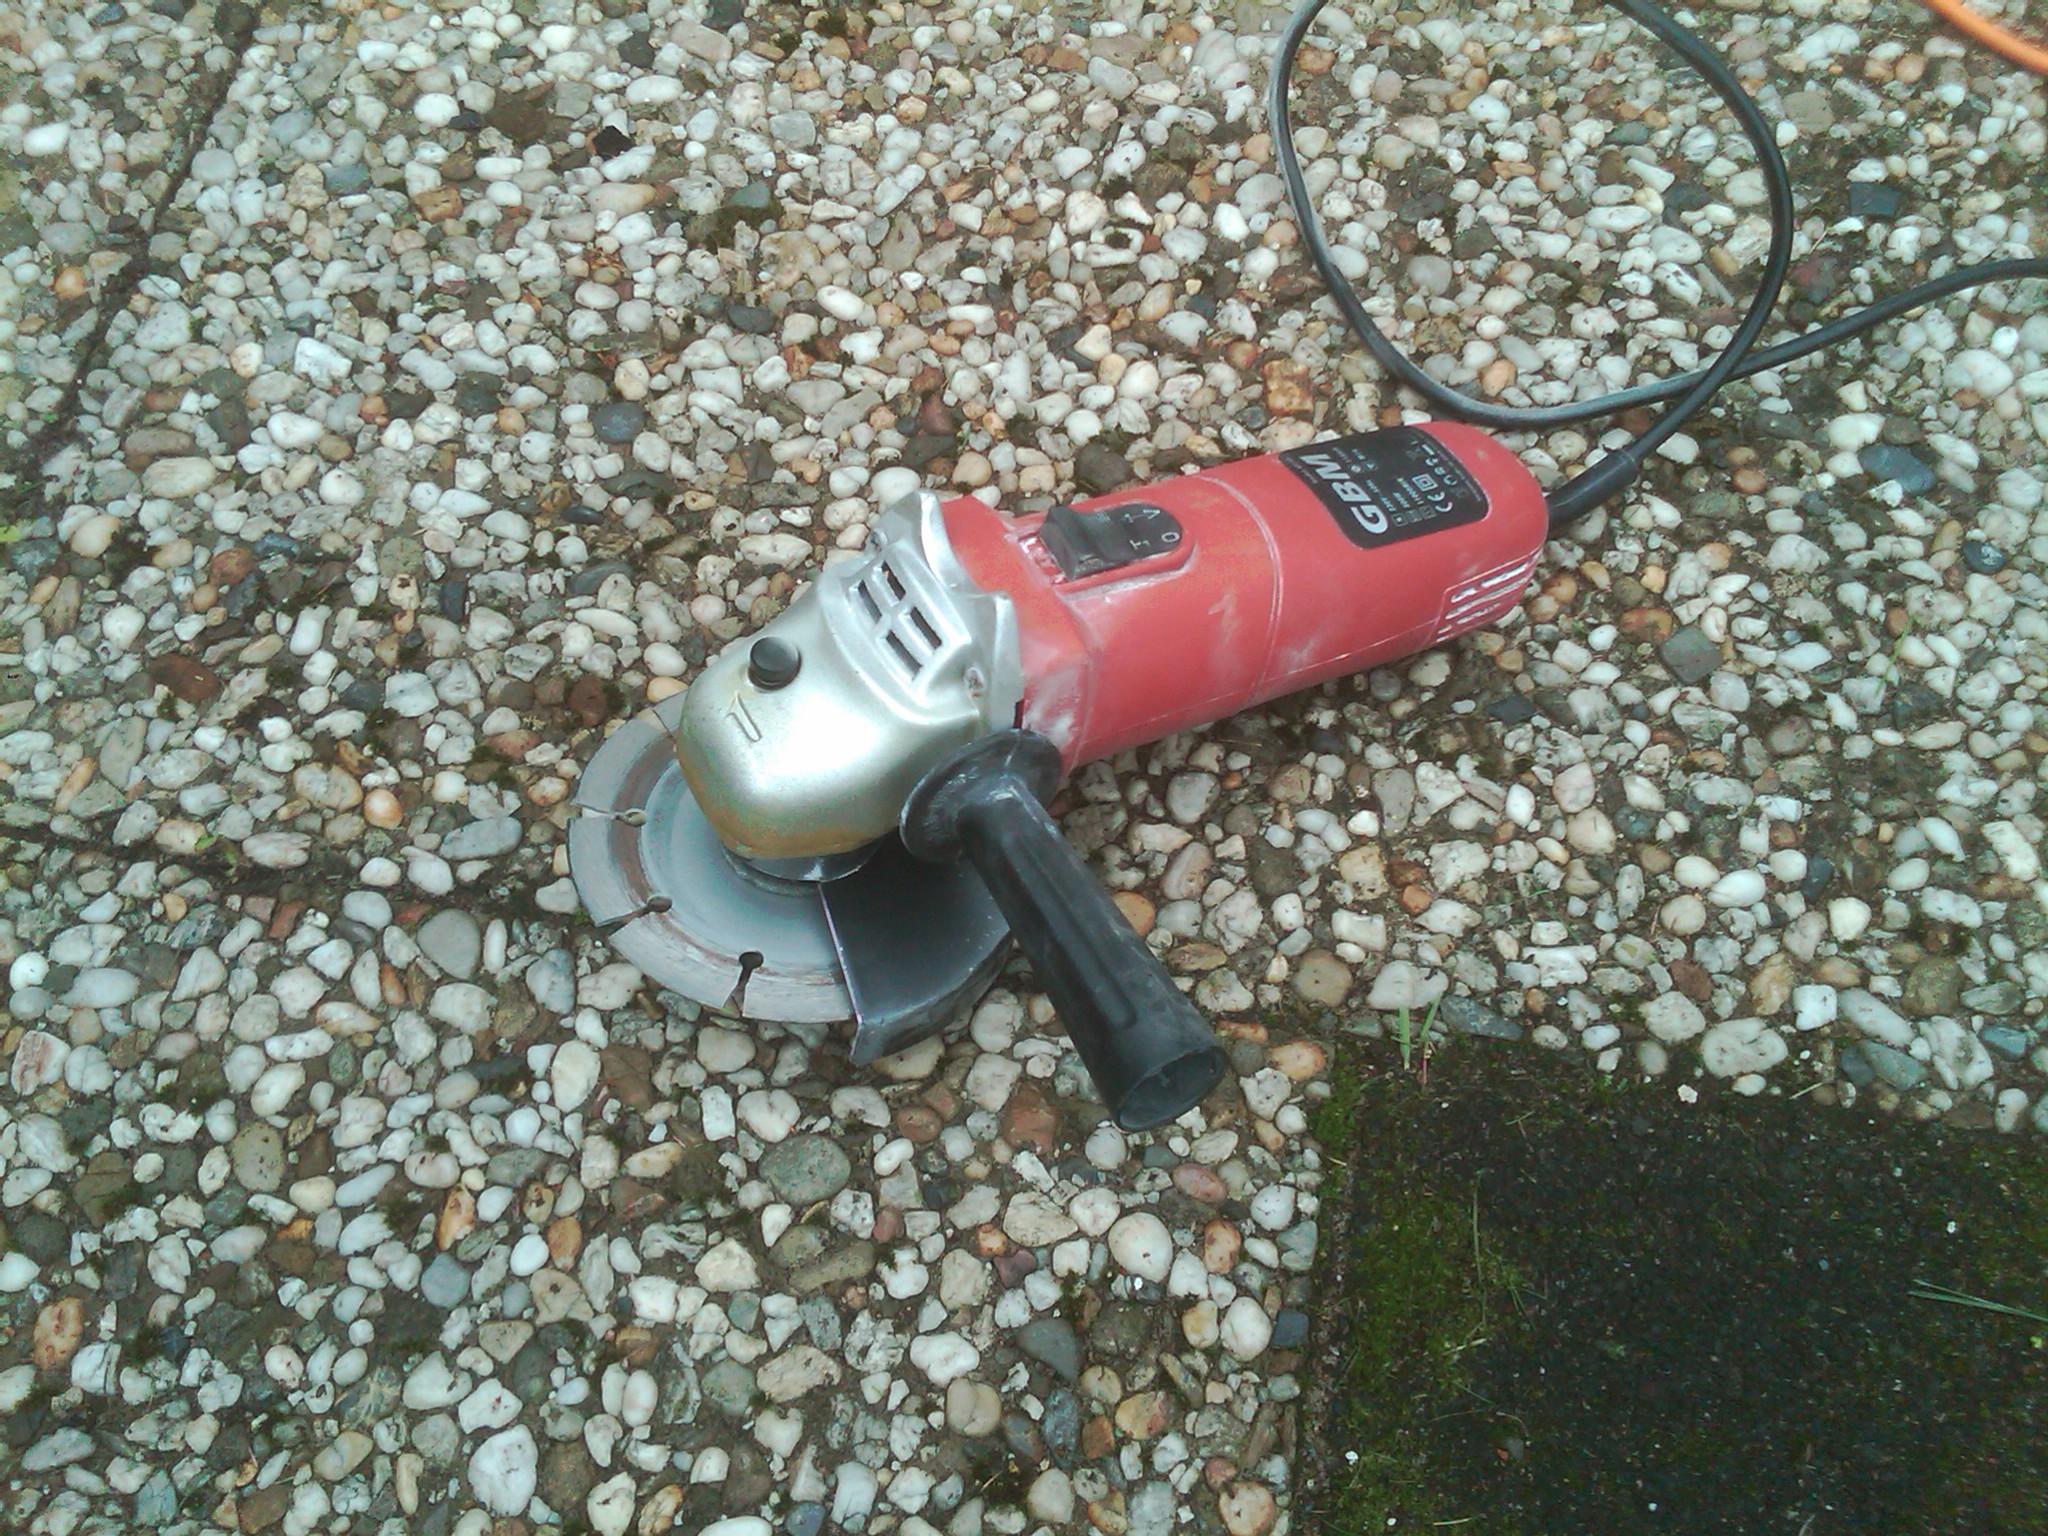
This requires some work with a angle grinder, be sure to use a diamond blade or you have little chance of making a clean cut.
Presto, a 25x40 cm floor tile for the foot. I originally planned on using the 20x20cm floor tile which came in that size, I
disliked the size and dimensions of it and decided to cut the remaining strip, 15 cm wide, in the right length for a top bit.
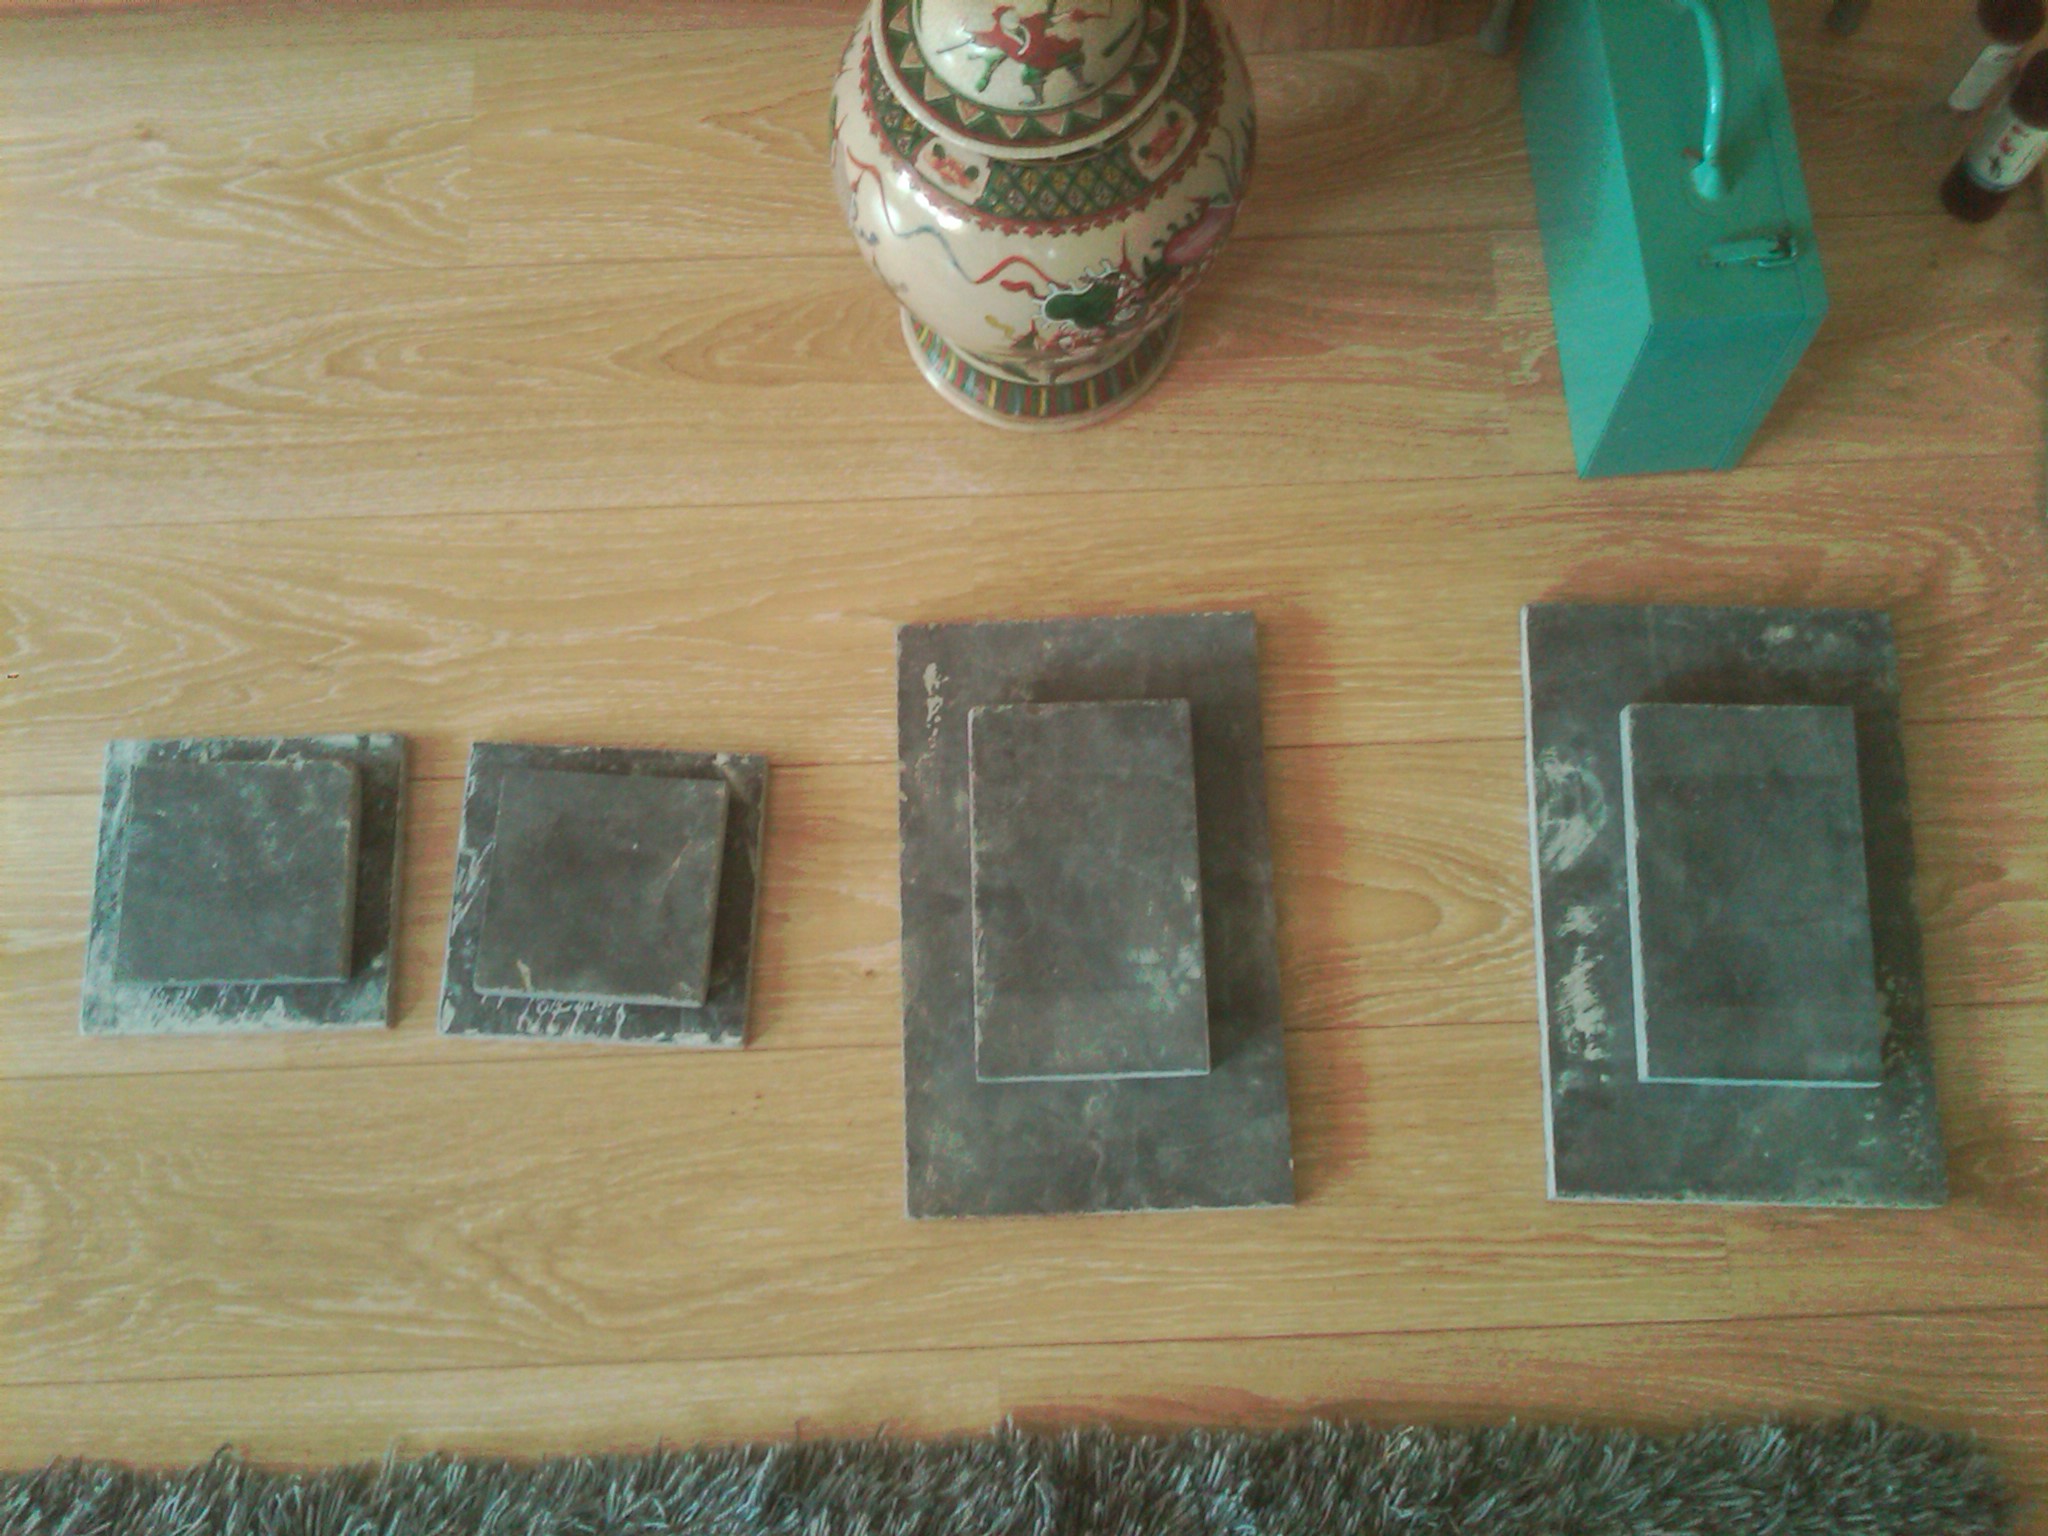
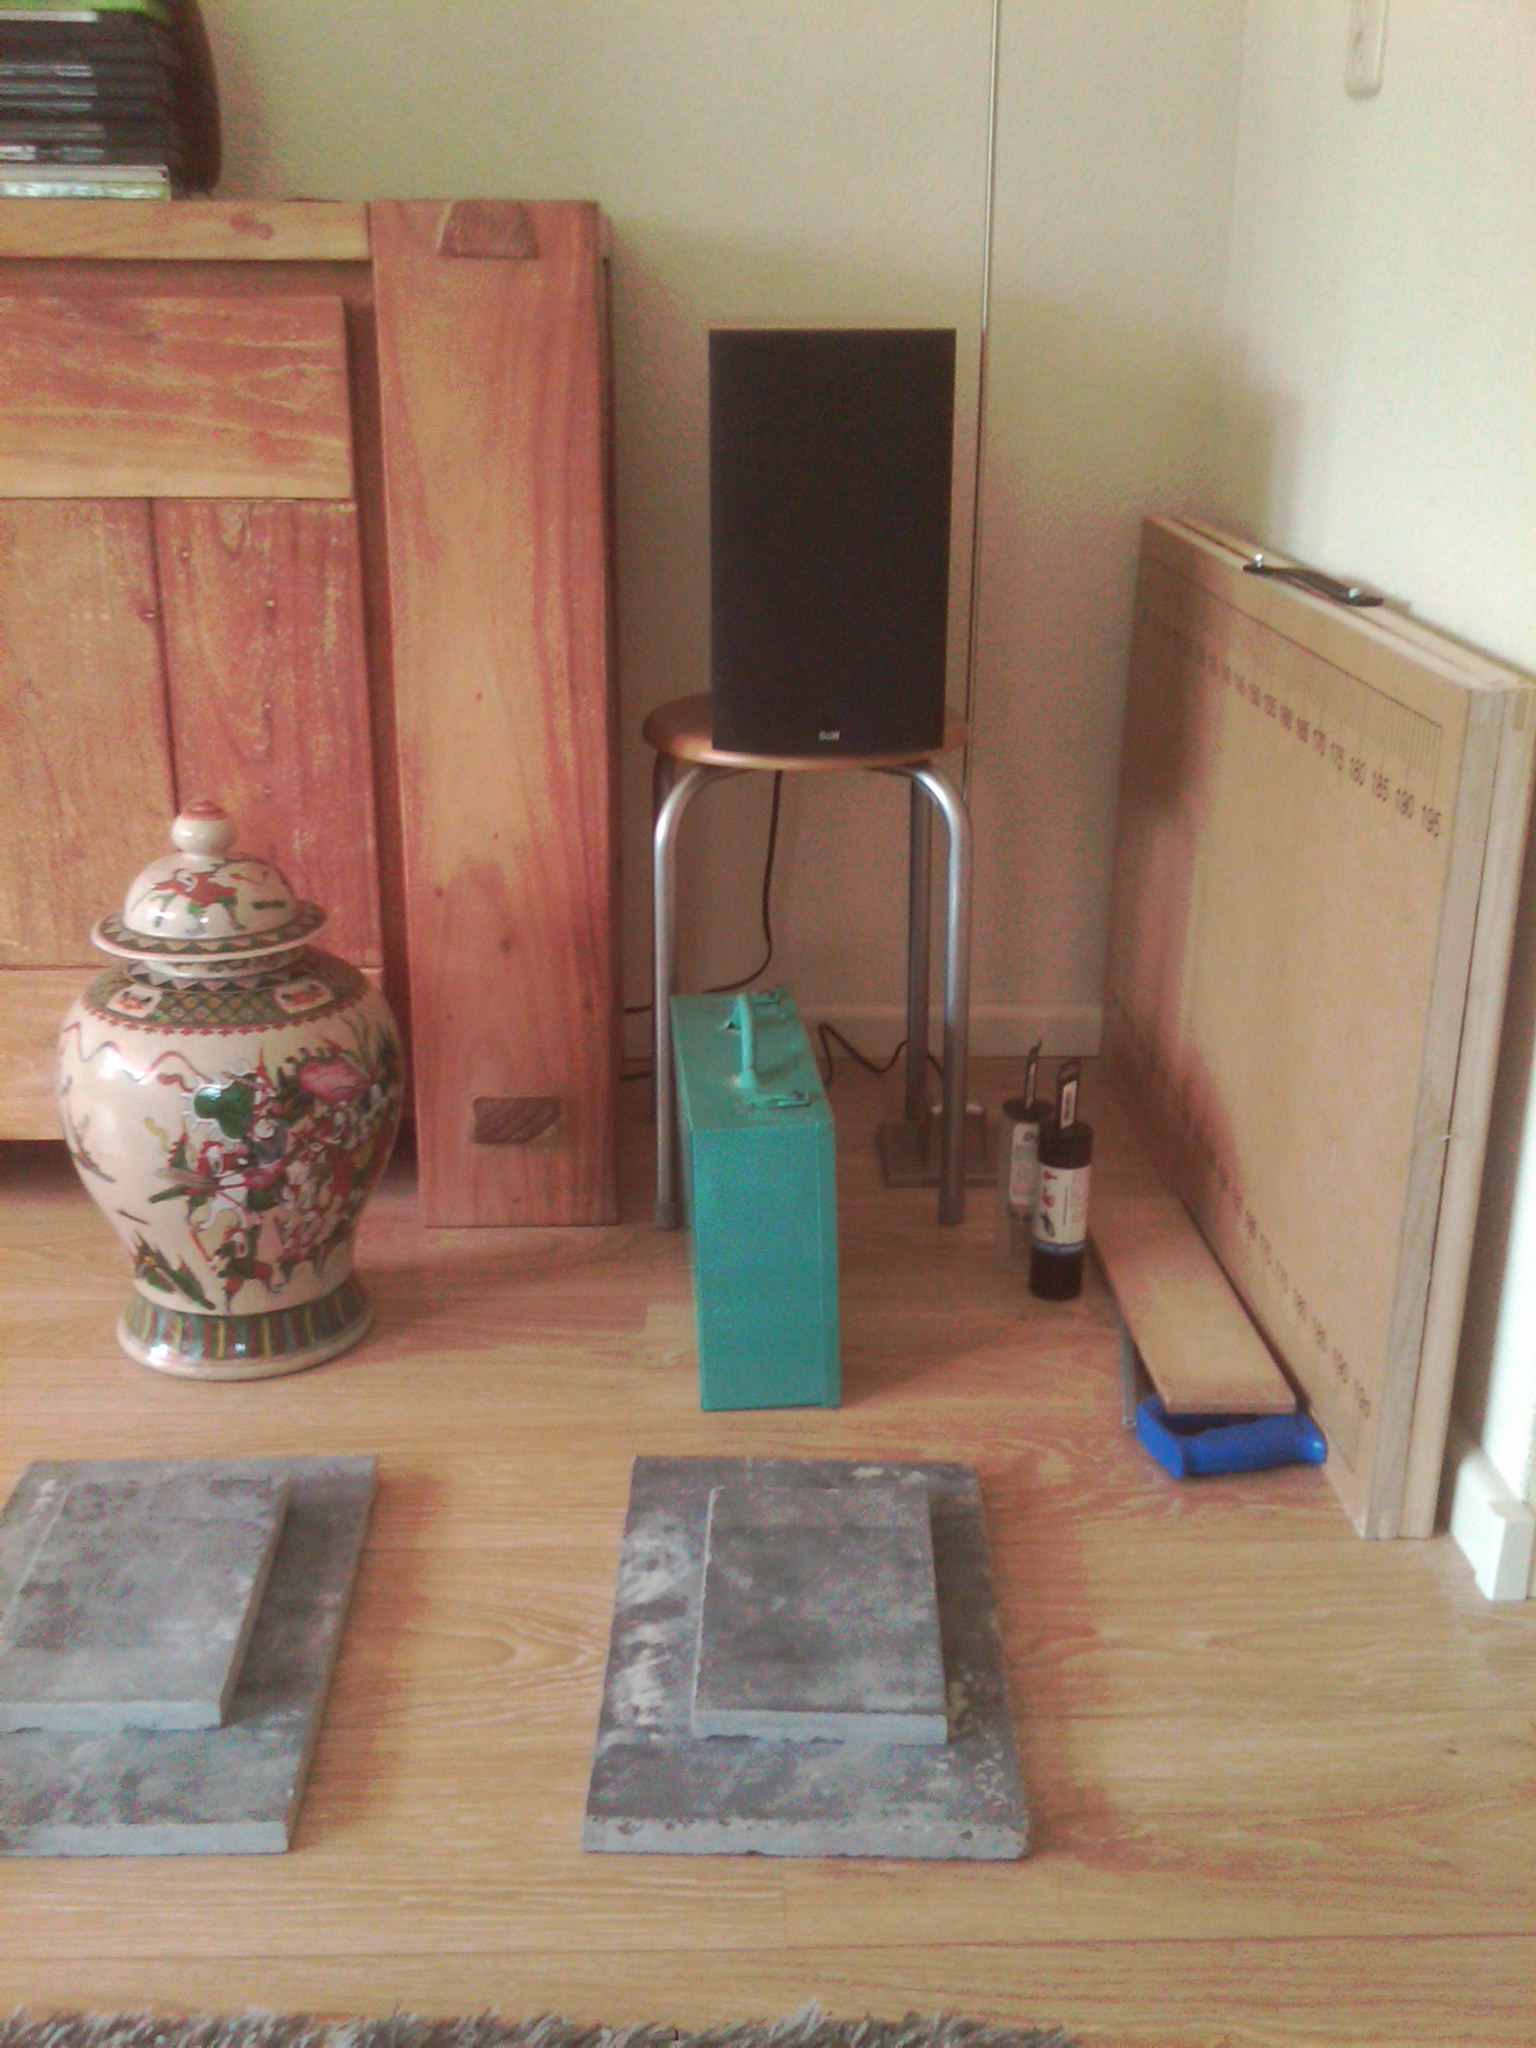
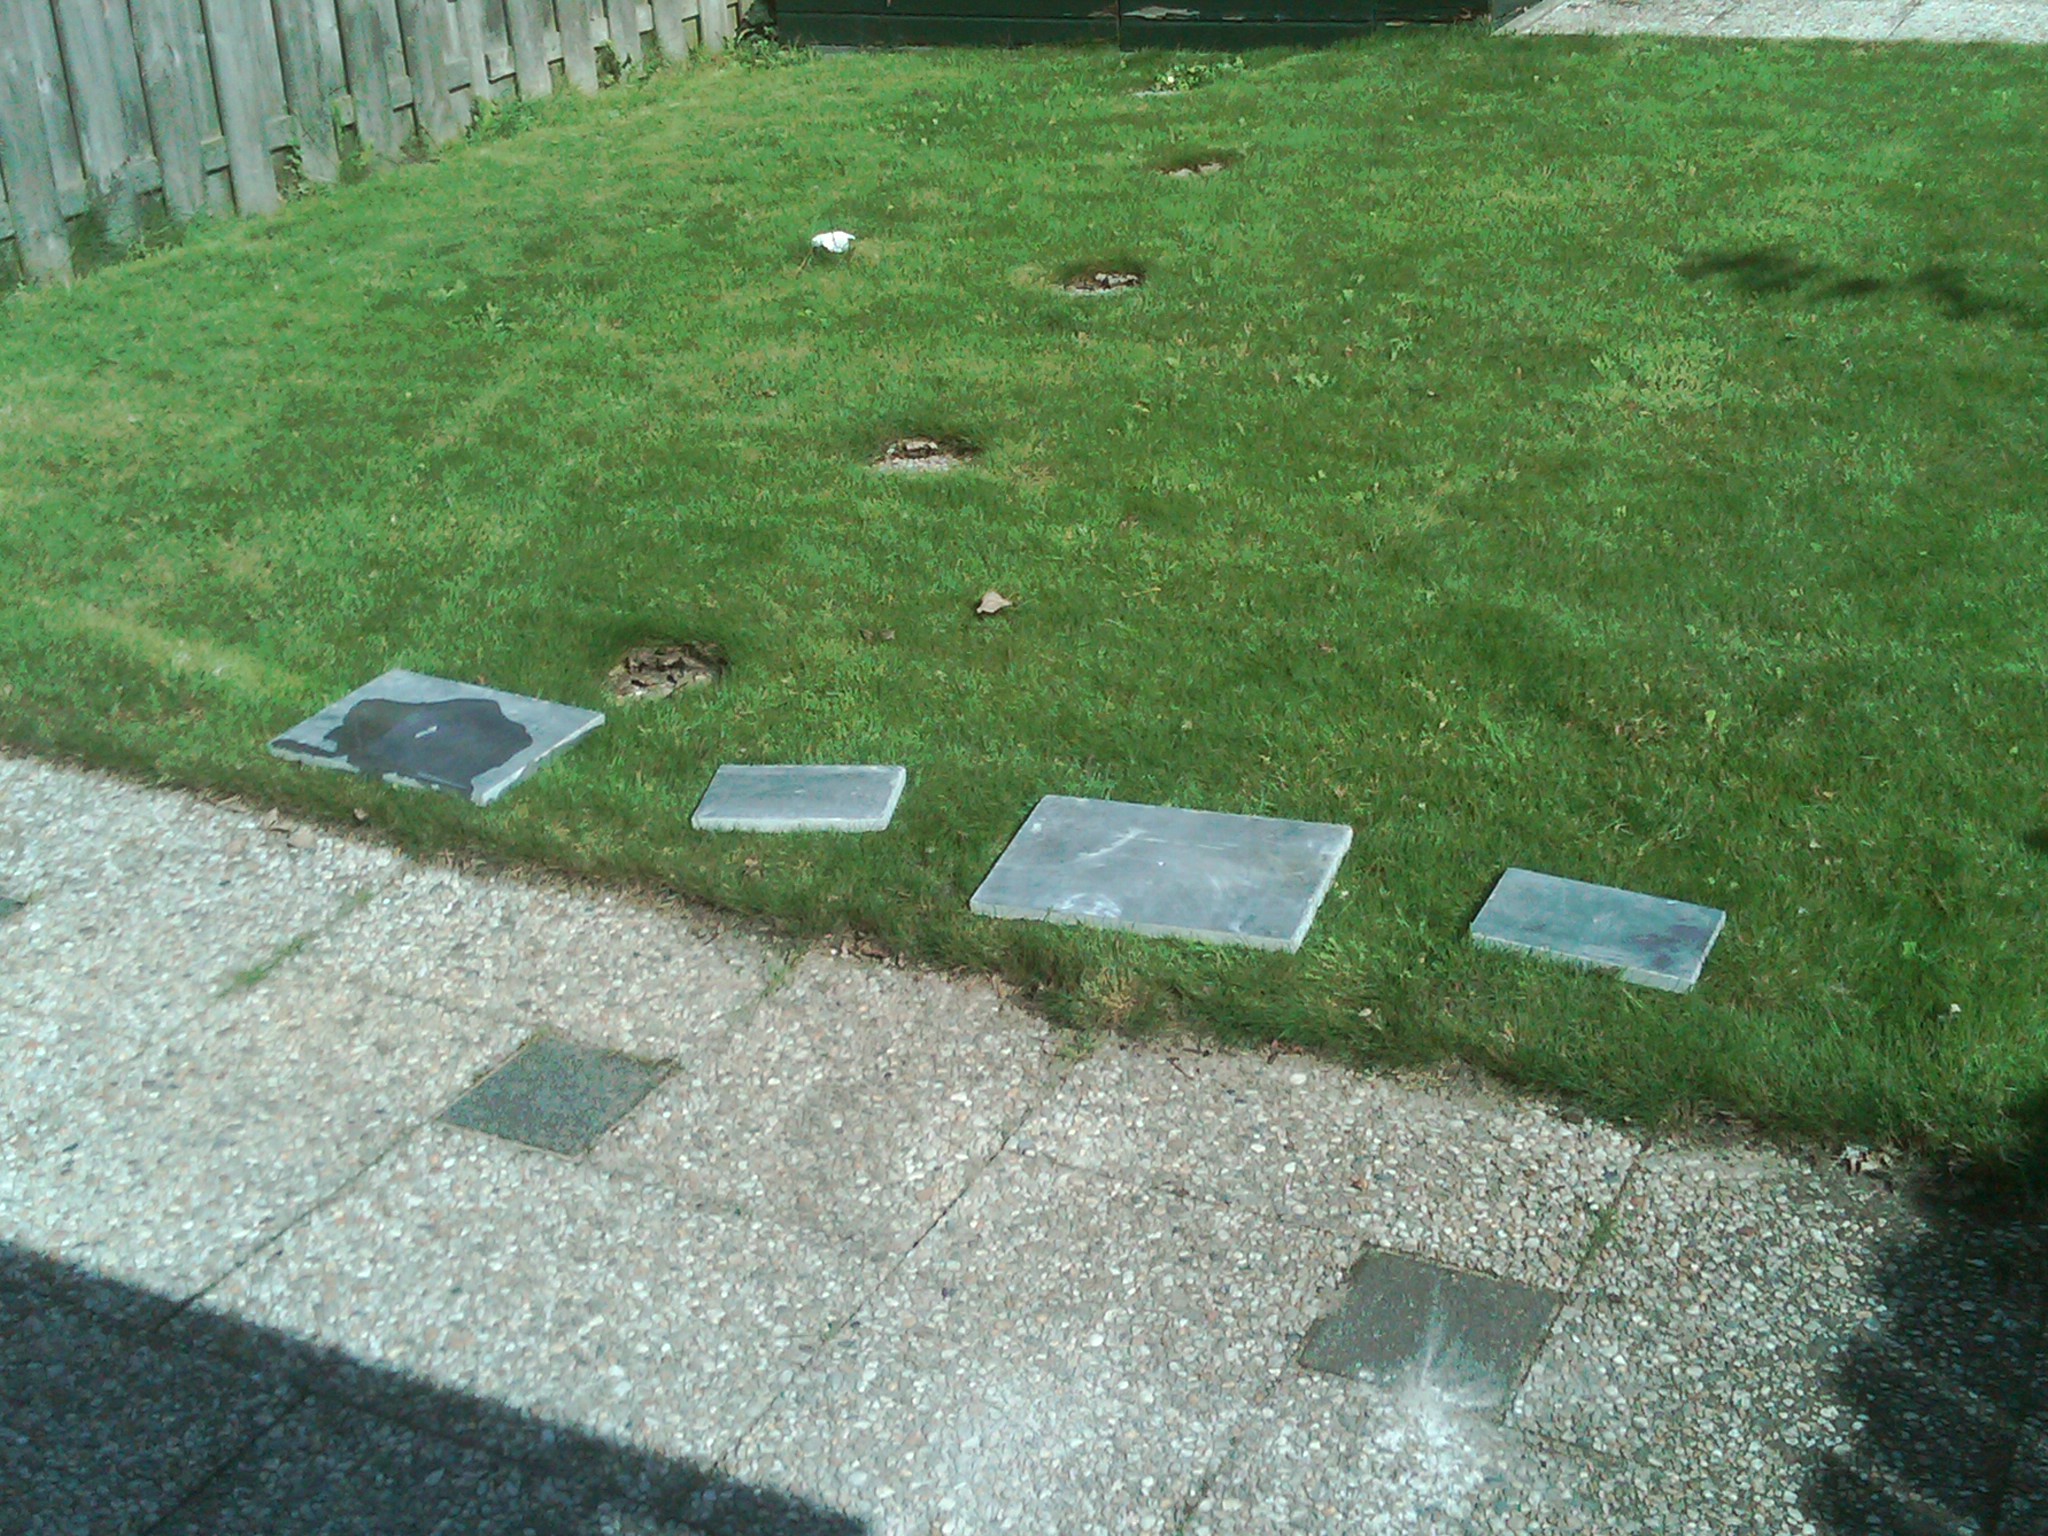
Here are all the bits and pieces after cutting the remaining parts. What I thought of for now is using the remaining 15x15cm
tiles and the 20x20 cm tiles for a surround speaker stand. Note: I don't have any surround speakers at this particular moment,
but it seemed like a good idea.
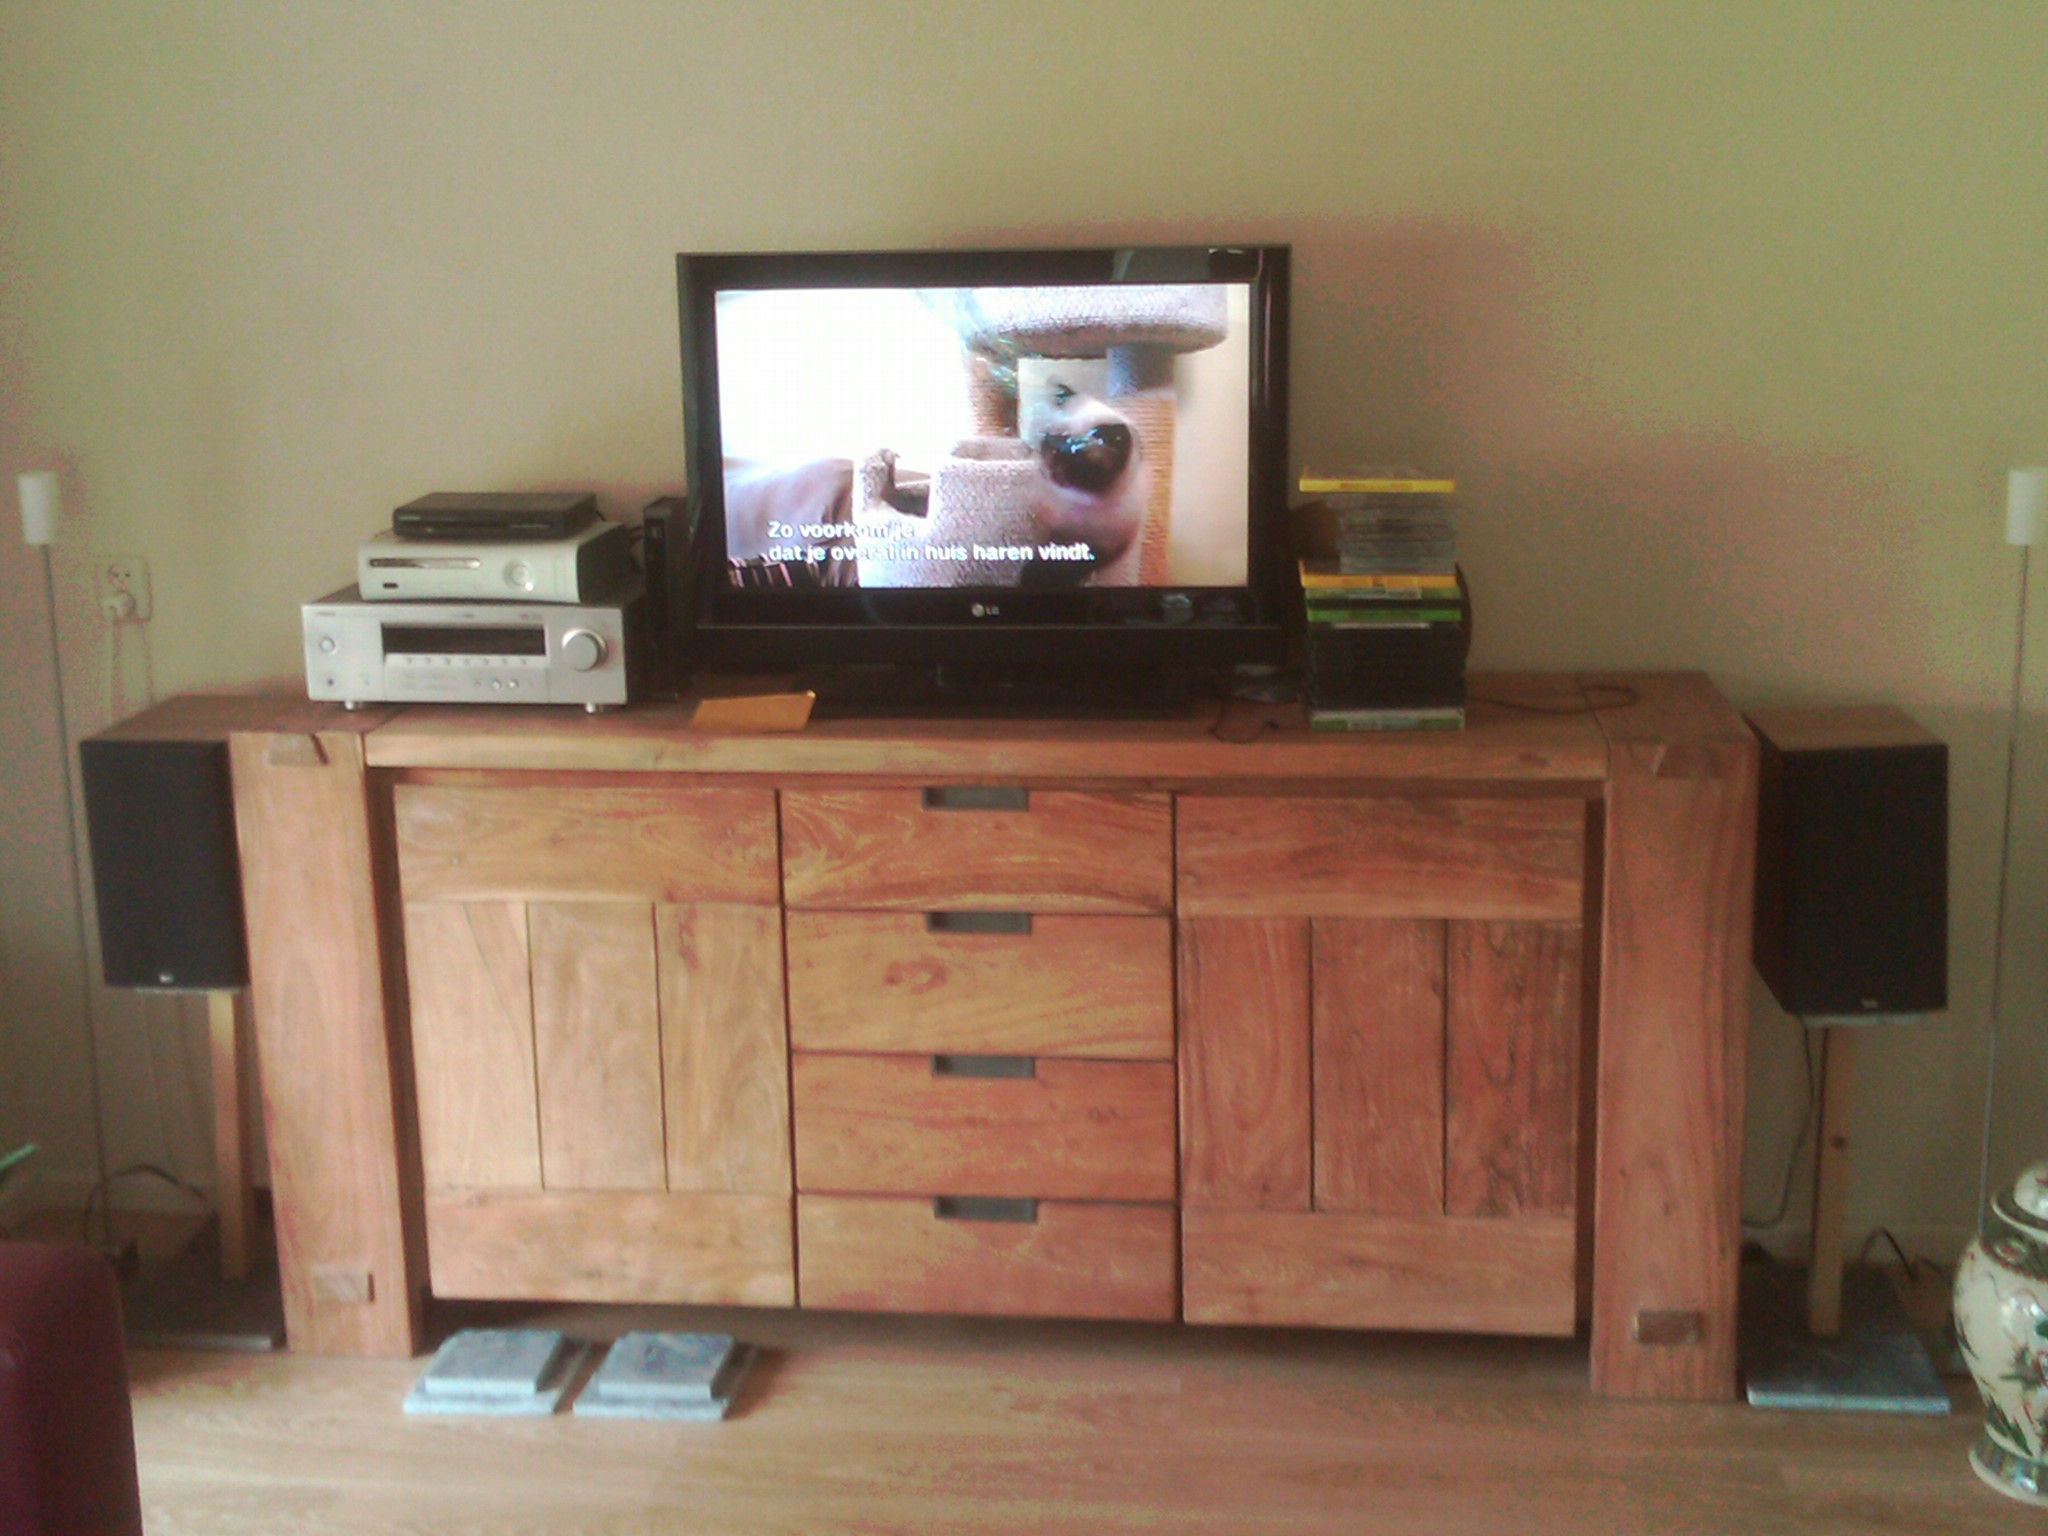
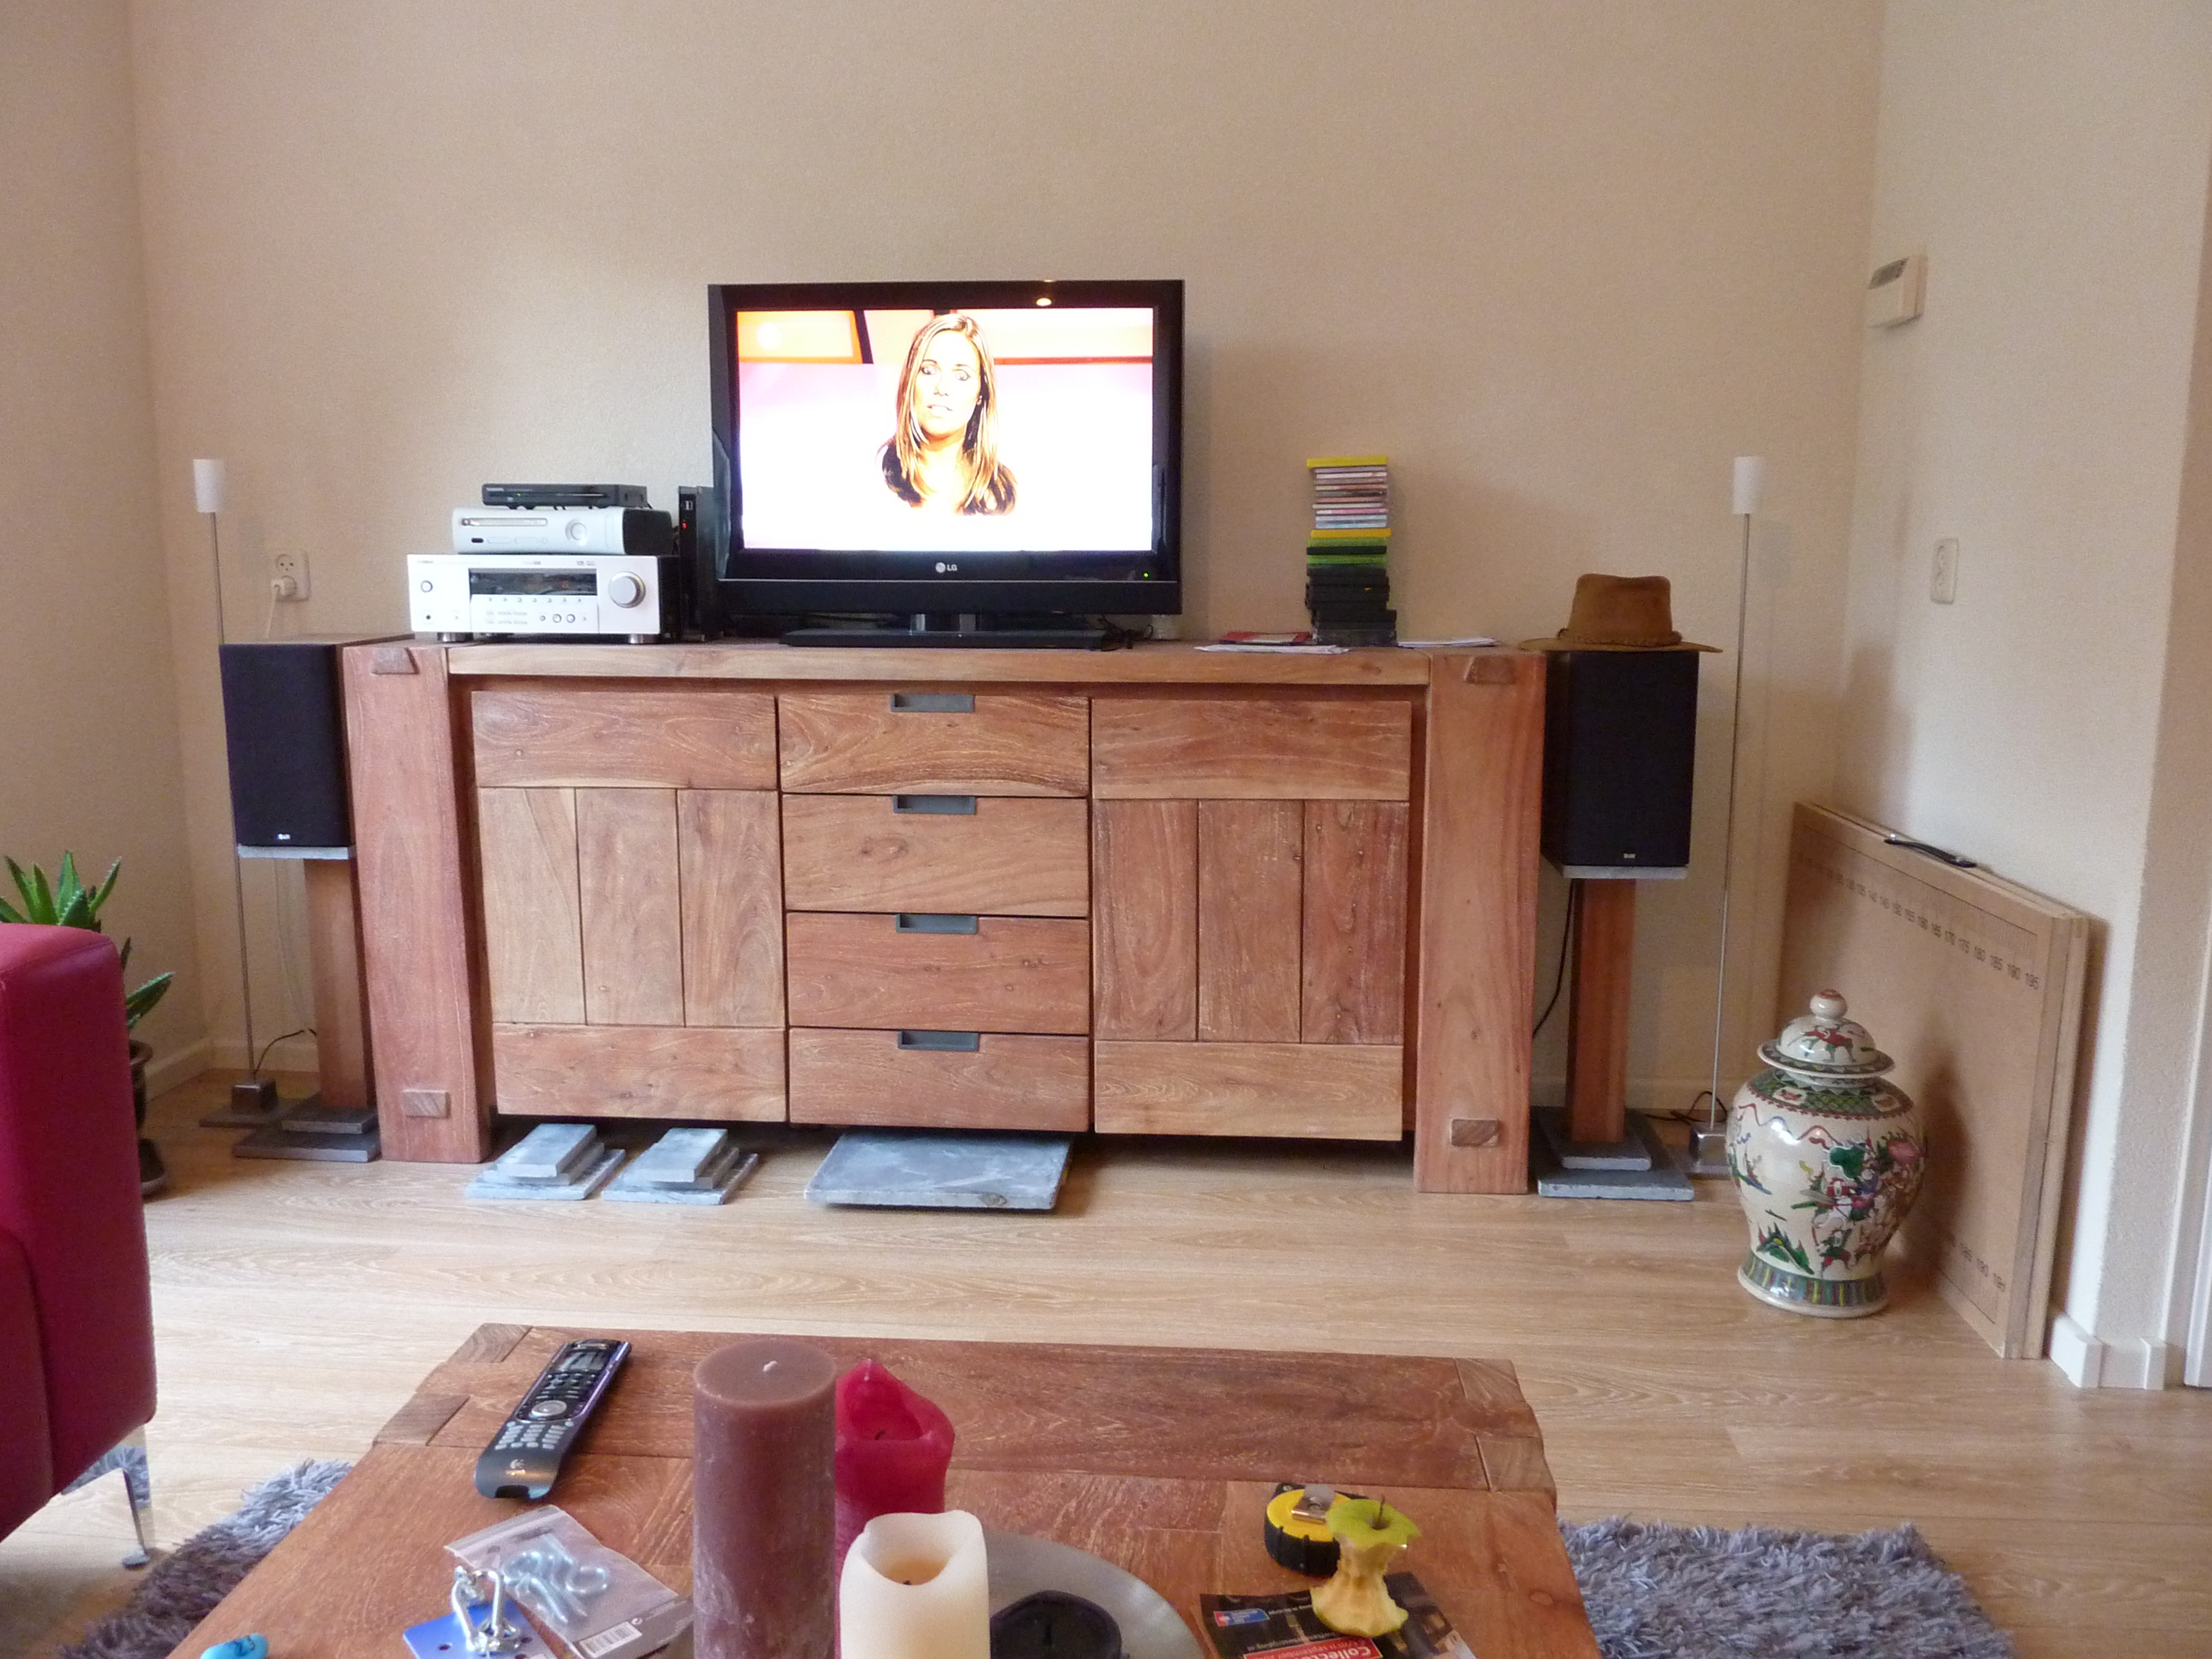
You can see the cabinet, the speaker on a stool for some basic height ideas and the cut tiles.
The Speakers are Bower & Wilkins 686 speakers. I like them a lot.
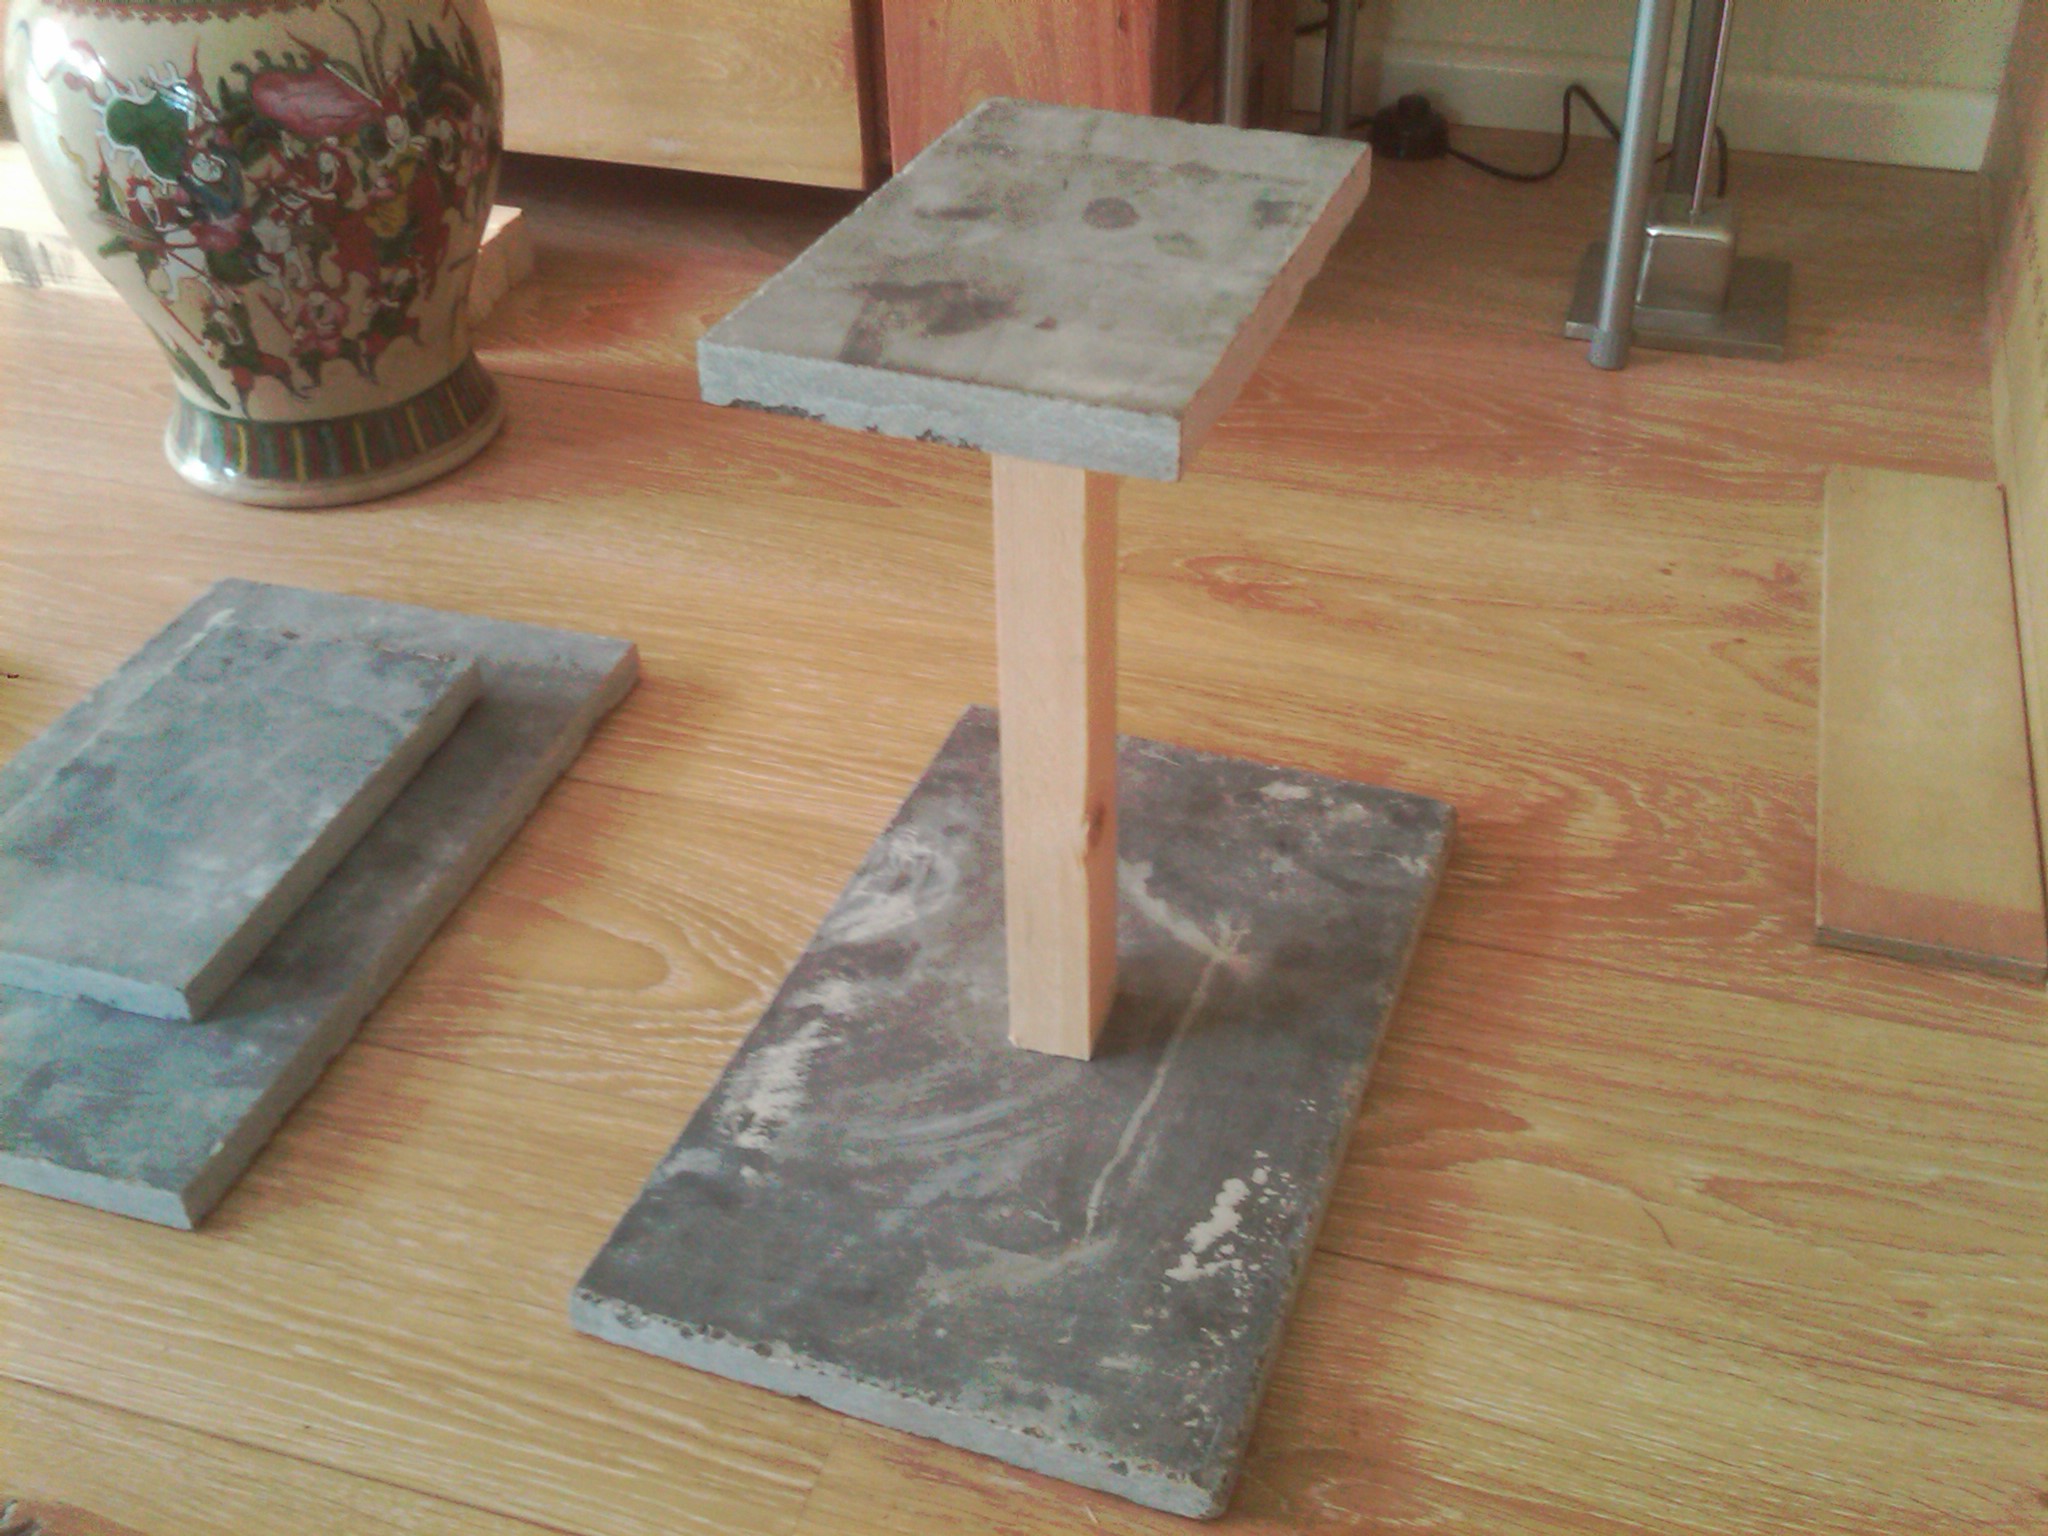
I did a quick check to see where the weight center was in the speaker by putting a small piece of wood under it. It turns out the balance is not too awkward,
so mounting the pole in the dead center of the tile should be ok.
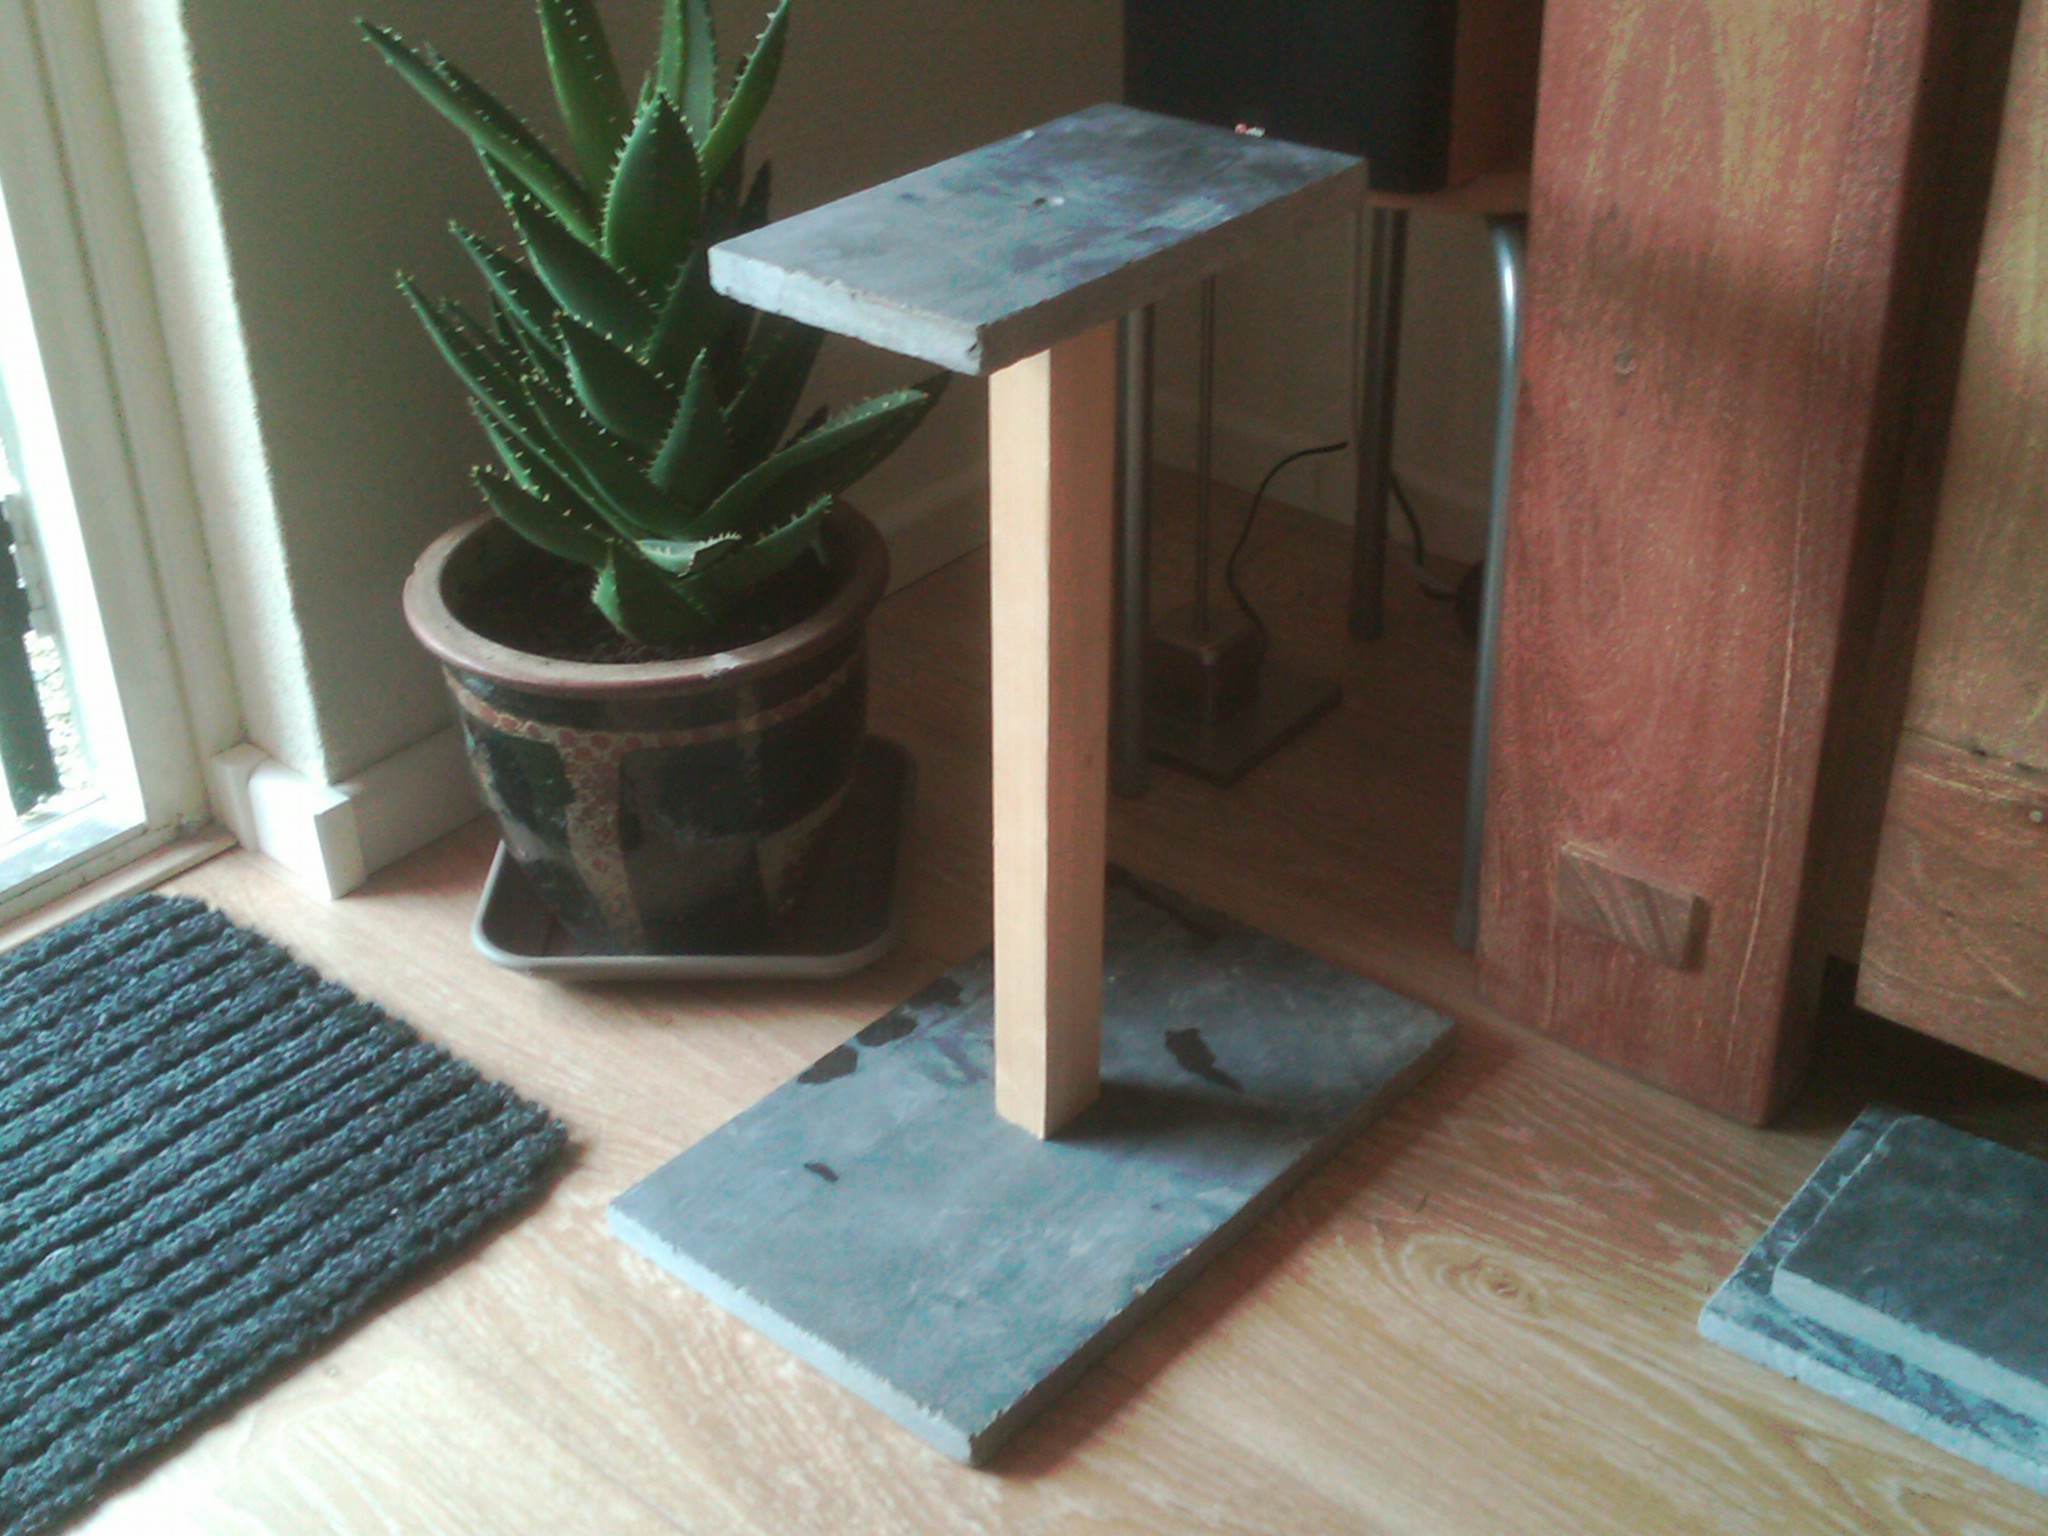
Here is a basic idea of what the product should look like
Now it was time to drill some holes into the tile so that I could screw the wooden pole in place. I made a scratch mark on the
tile marking the center. I then created a plywood drilling assist for the diamond drill bit.
The diamant drill looks much like a small piece of tube with diamond on the edge, it is effectively hollow.
To prevent seeking of the hollow tube over the tile the plywood drill assist will keep it in place.
Just allign the hole over the cross on the tile and then clamp it down using wood clamps.
Then begins the tedious procedure of drilling the tiles and clearing out the hollow drill bit in between.
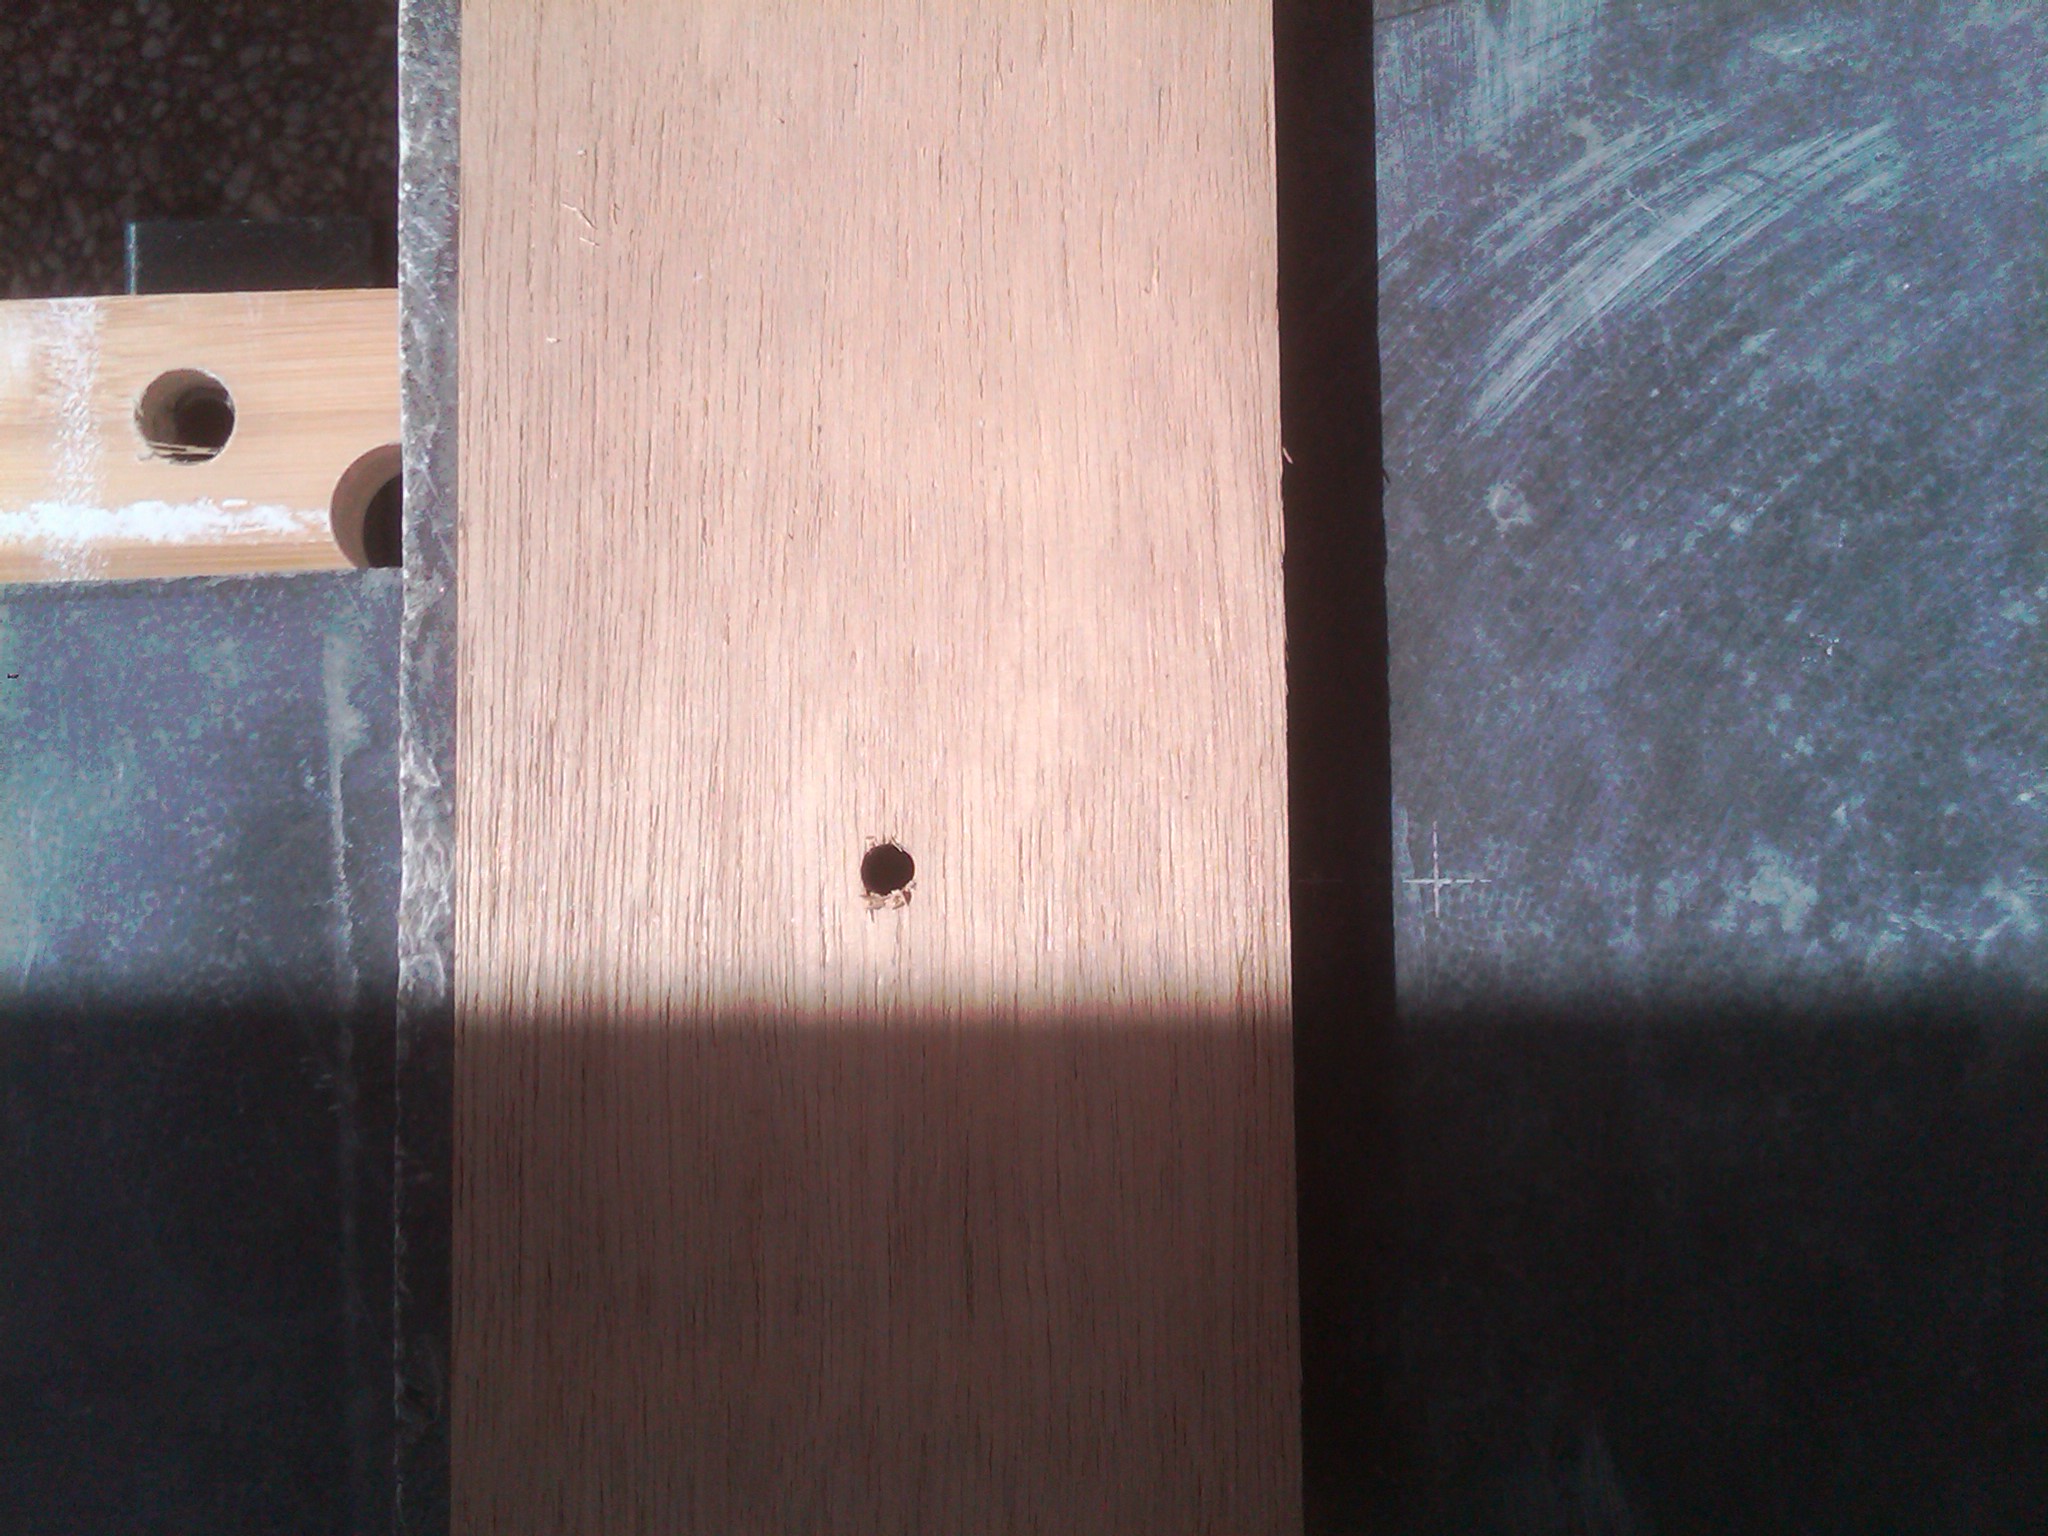
And after about 10 minutes of fiddling we have a nice blister free 6mm hole in the tile.
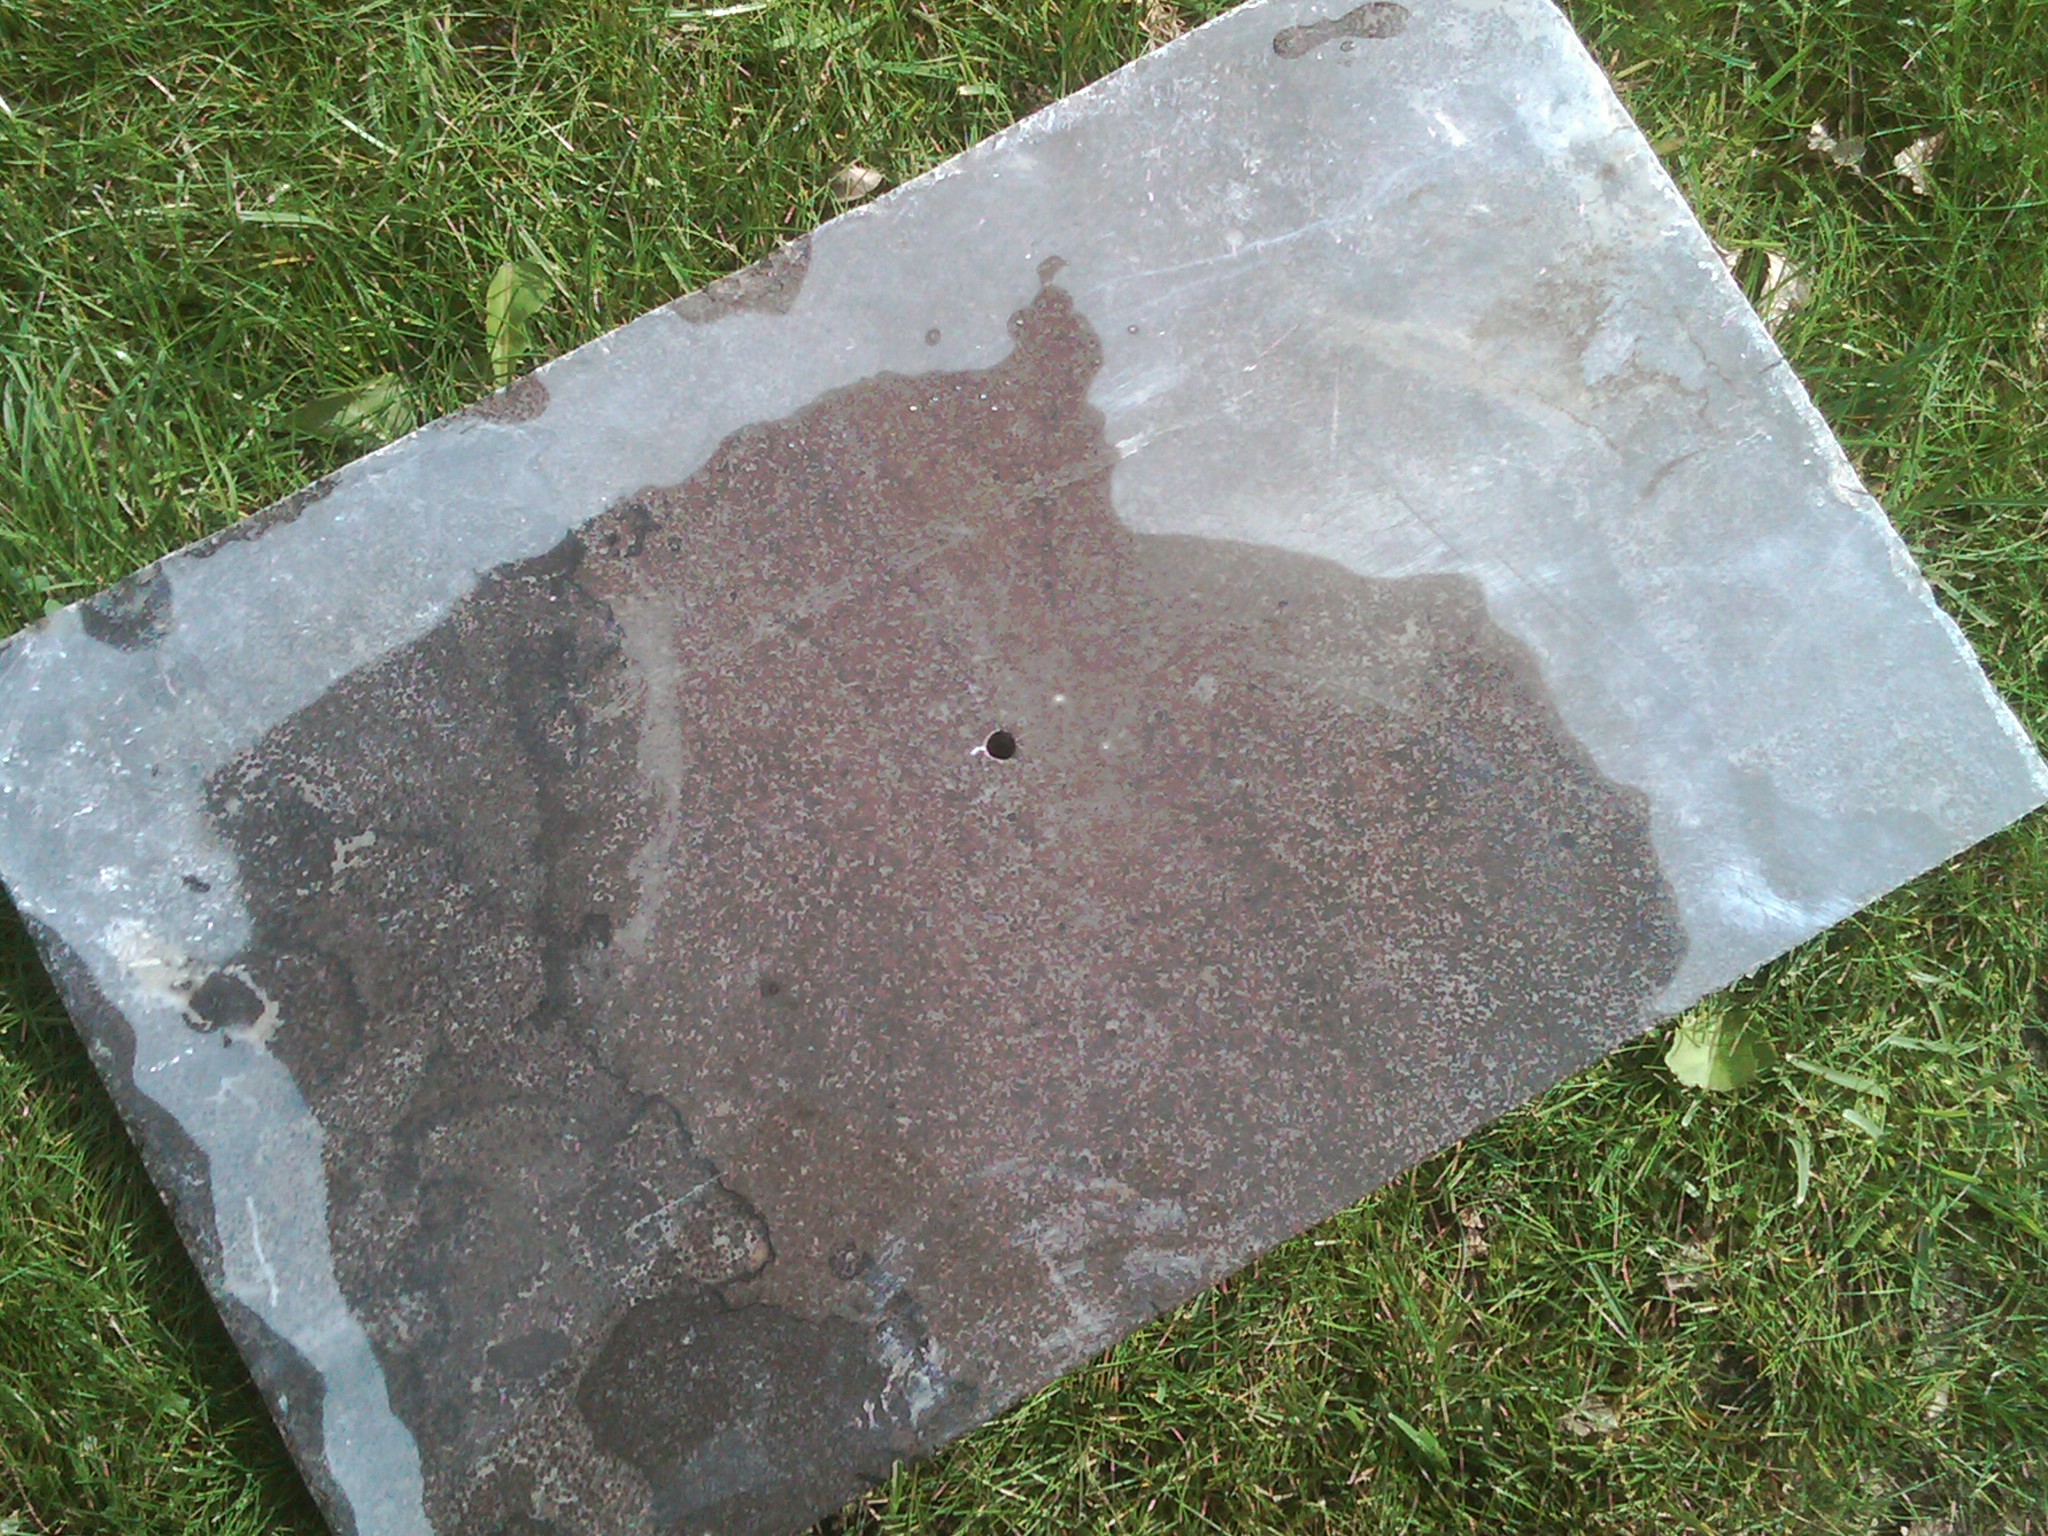
Hours pass ...
Take a precision tool with a angular grind bit to "counter sink" the holes on one side so that a screw can be mounted flat.
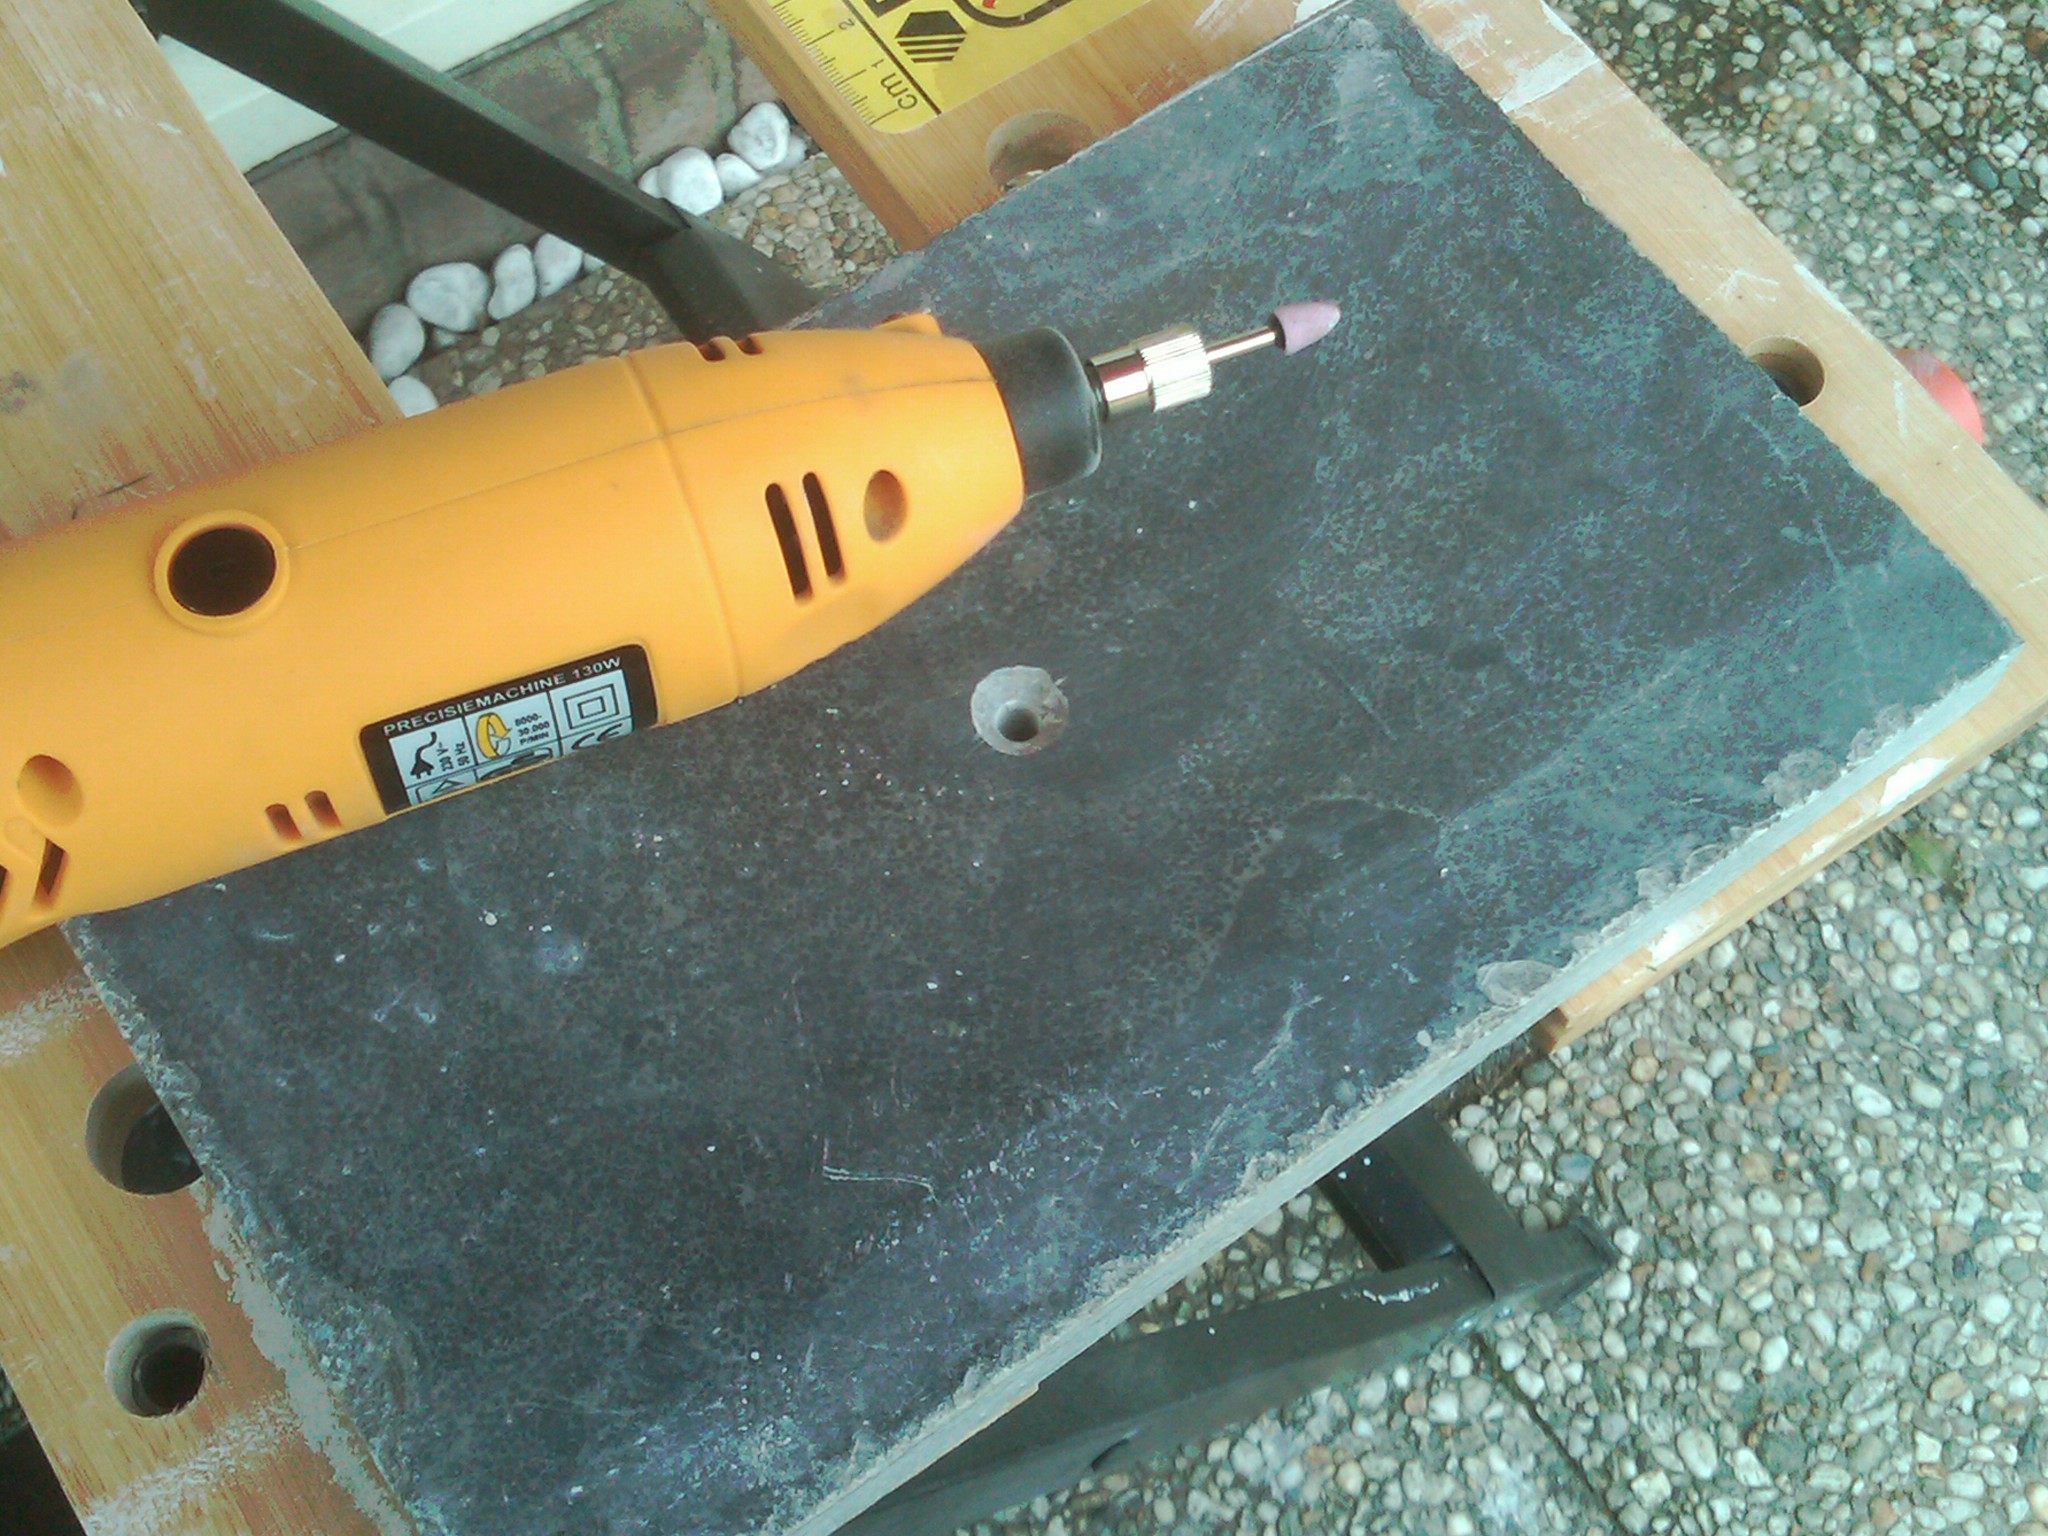
Make sure that it's counter sunk on the bottom of the floor tile and the top of the top tile.
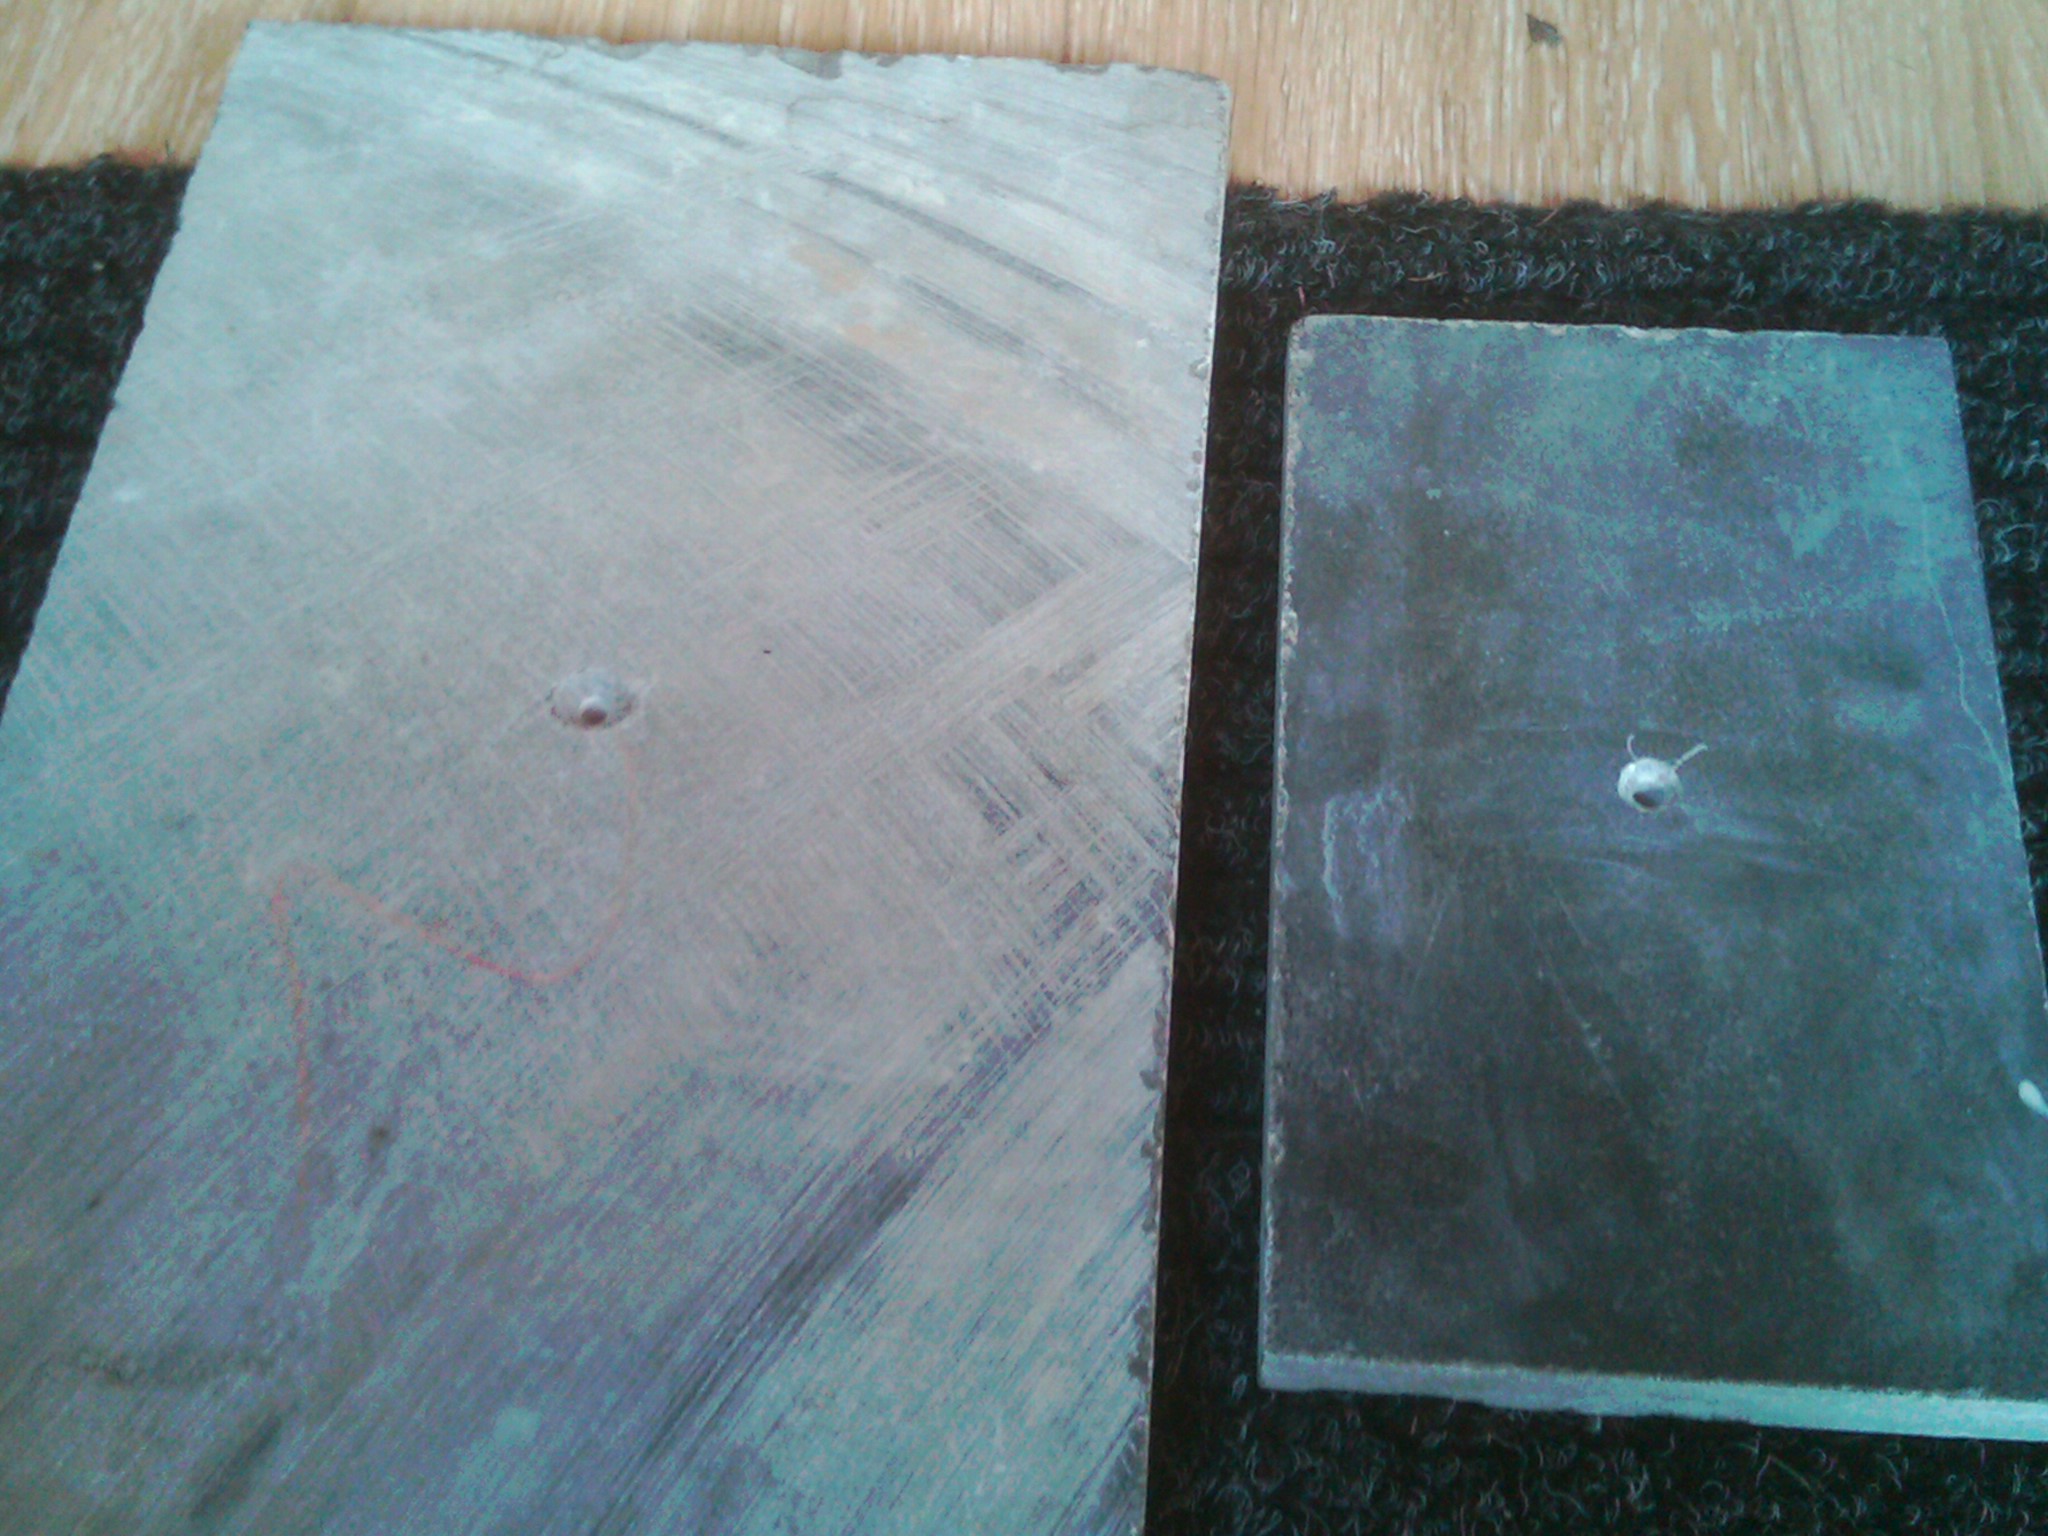
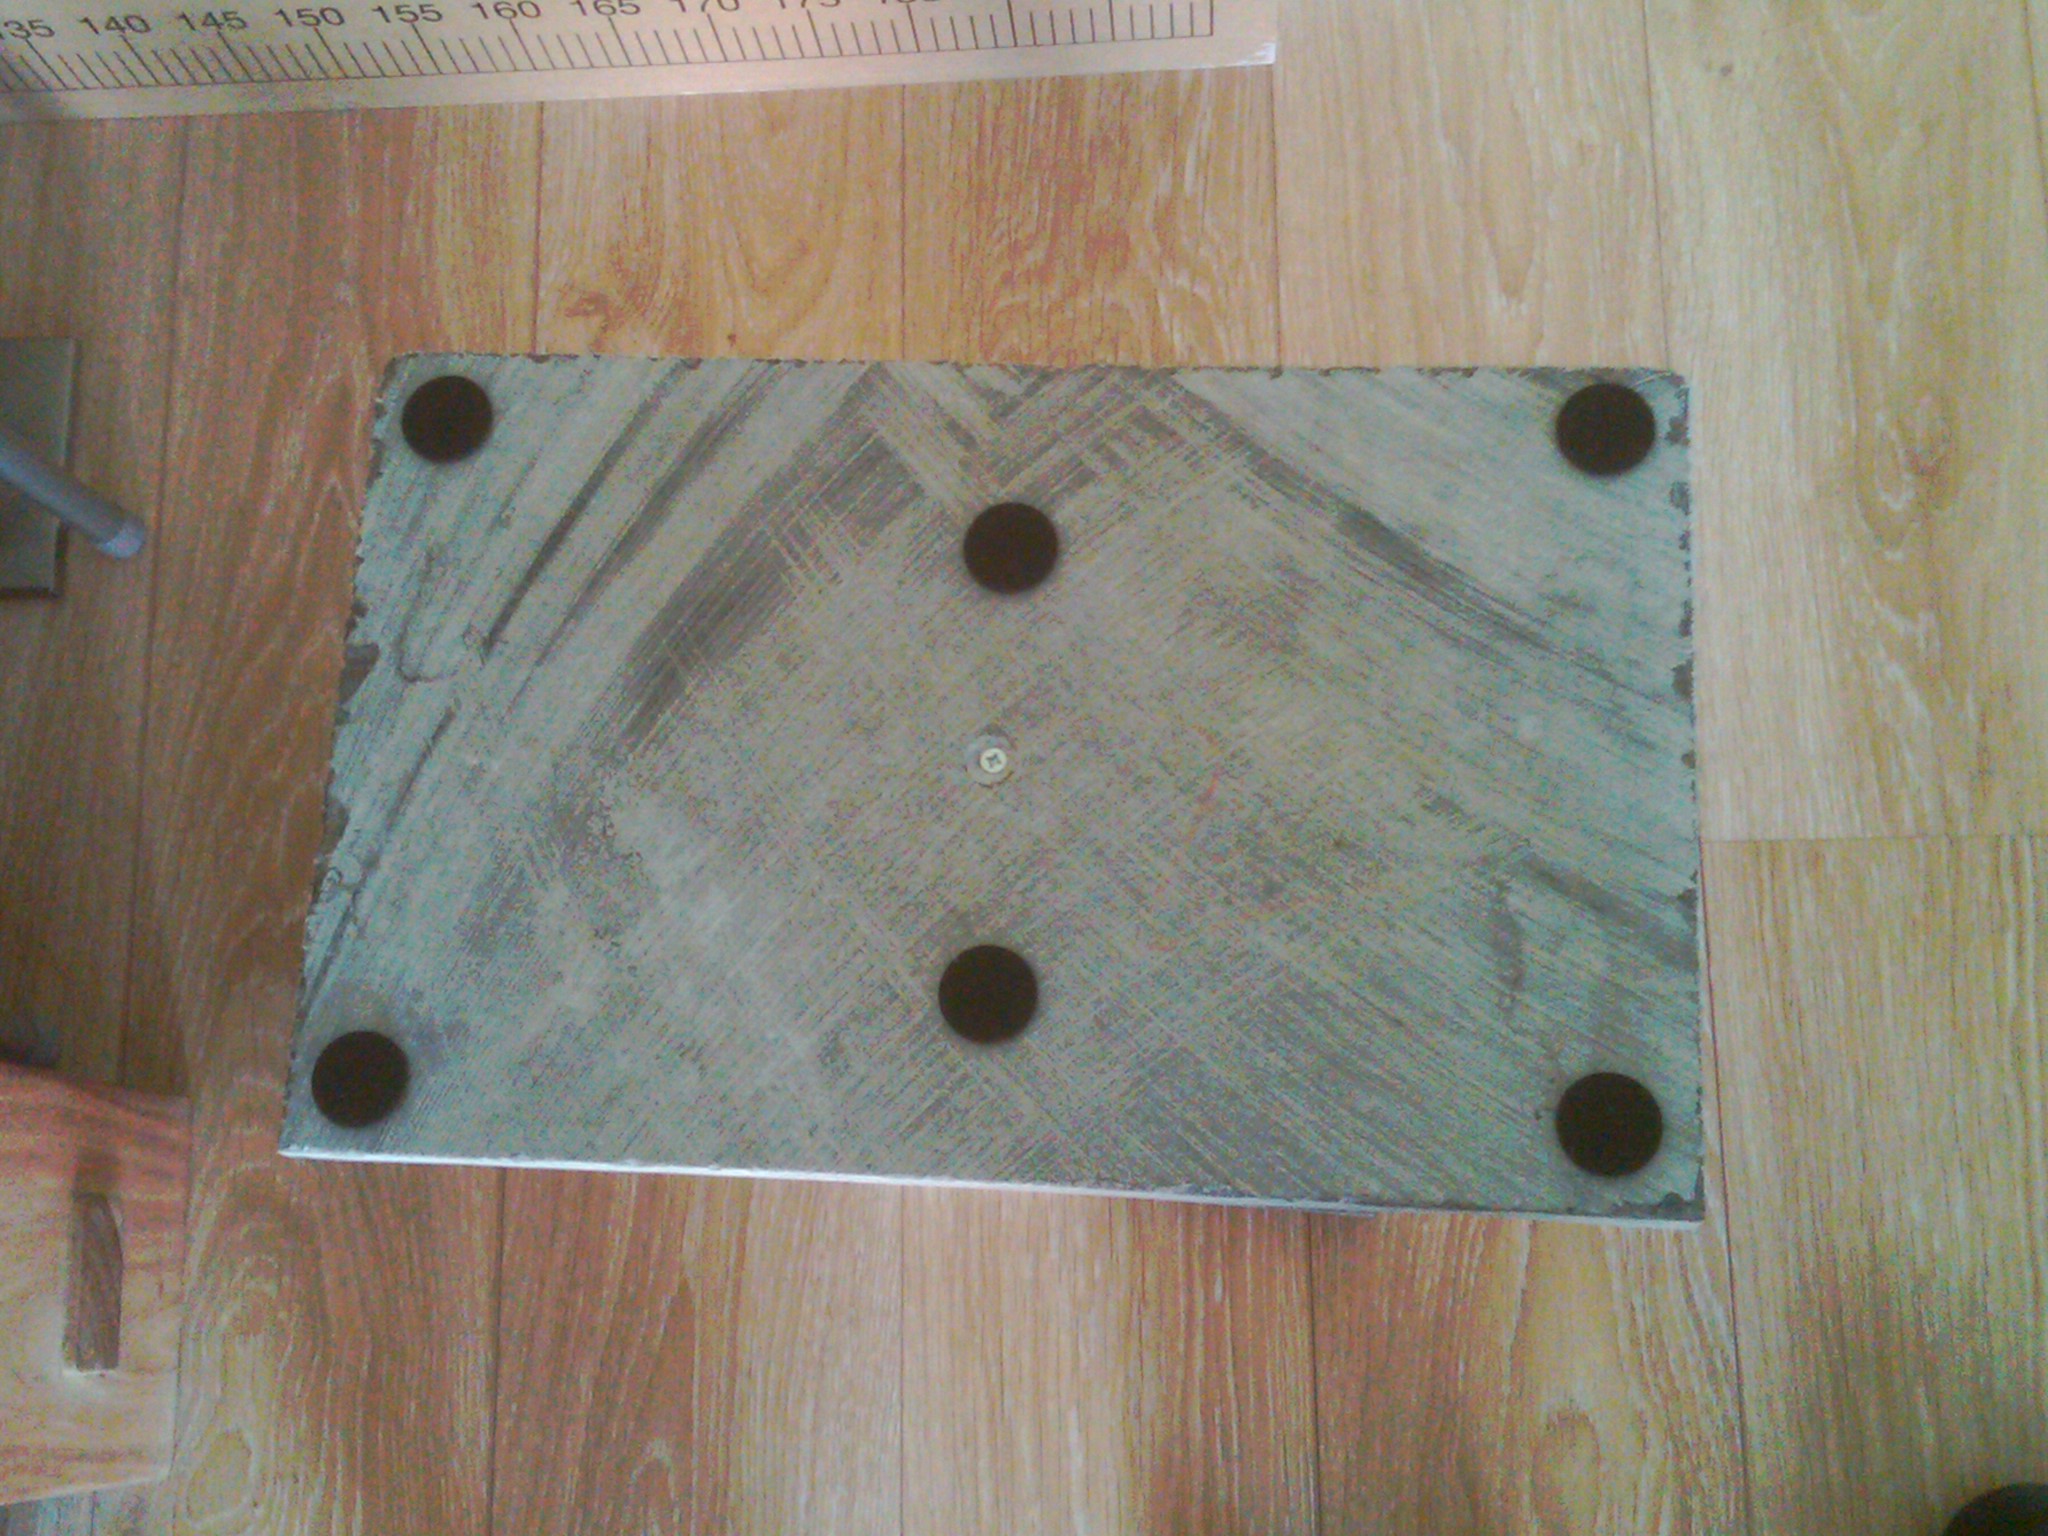
A small piece of wood and 2 screws later and the top and bottom are fixed.
Some pads on the bottom to prevent scratching the floor. You can see the recessed screw well here.
Here is what it is supposed to look like. Well ... if you imagine that the cheap piece of wood is replaced
with proper thick square pole instead. You should also note that I was unable to saw off the small dummy
pieces of wood at a proper 90 degree angle. Look at the right stand to see what I mean.
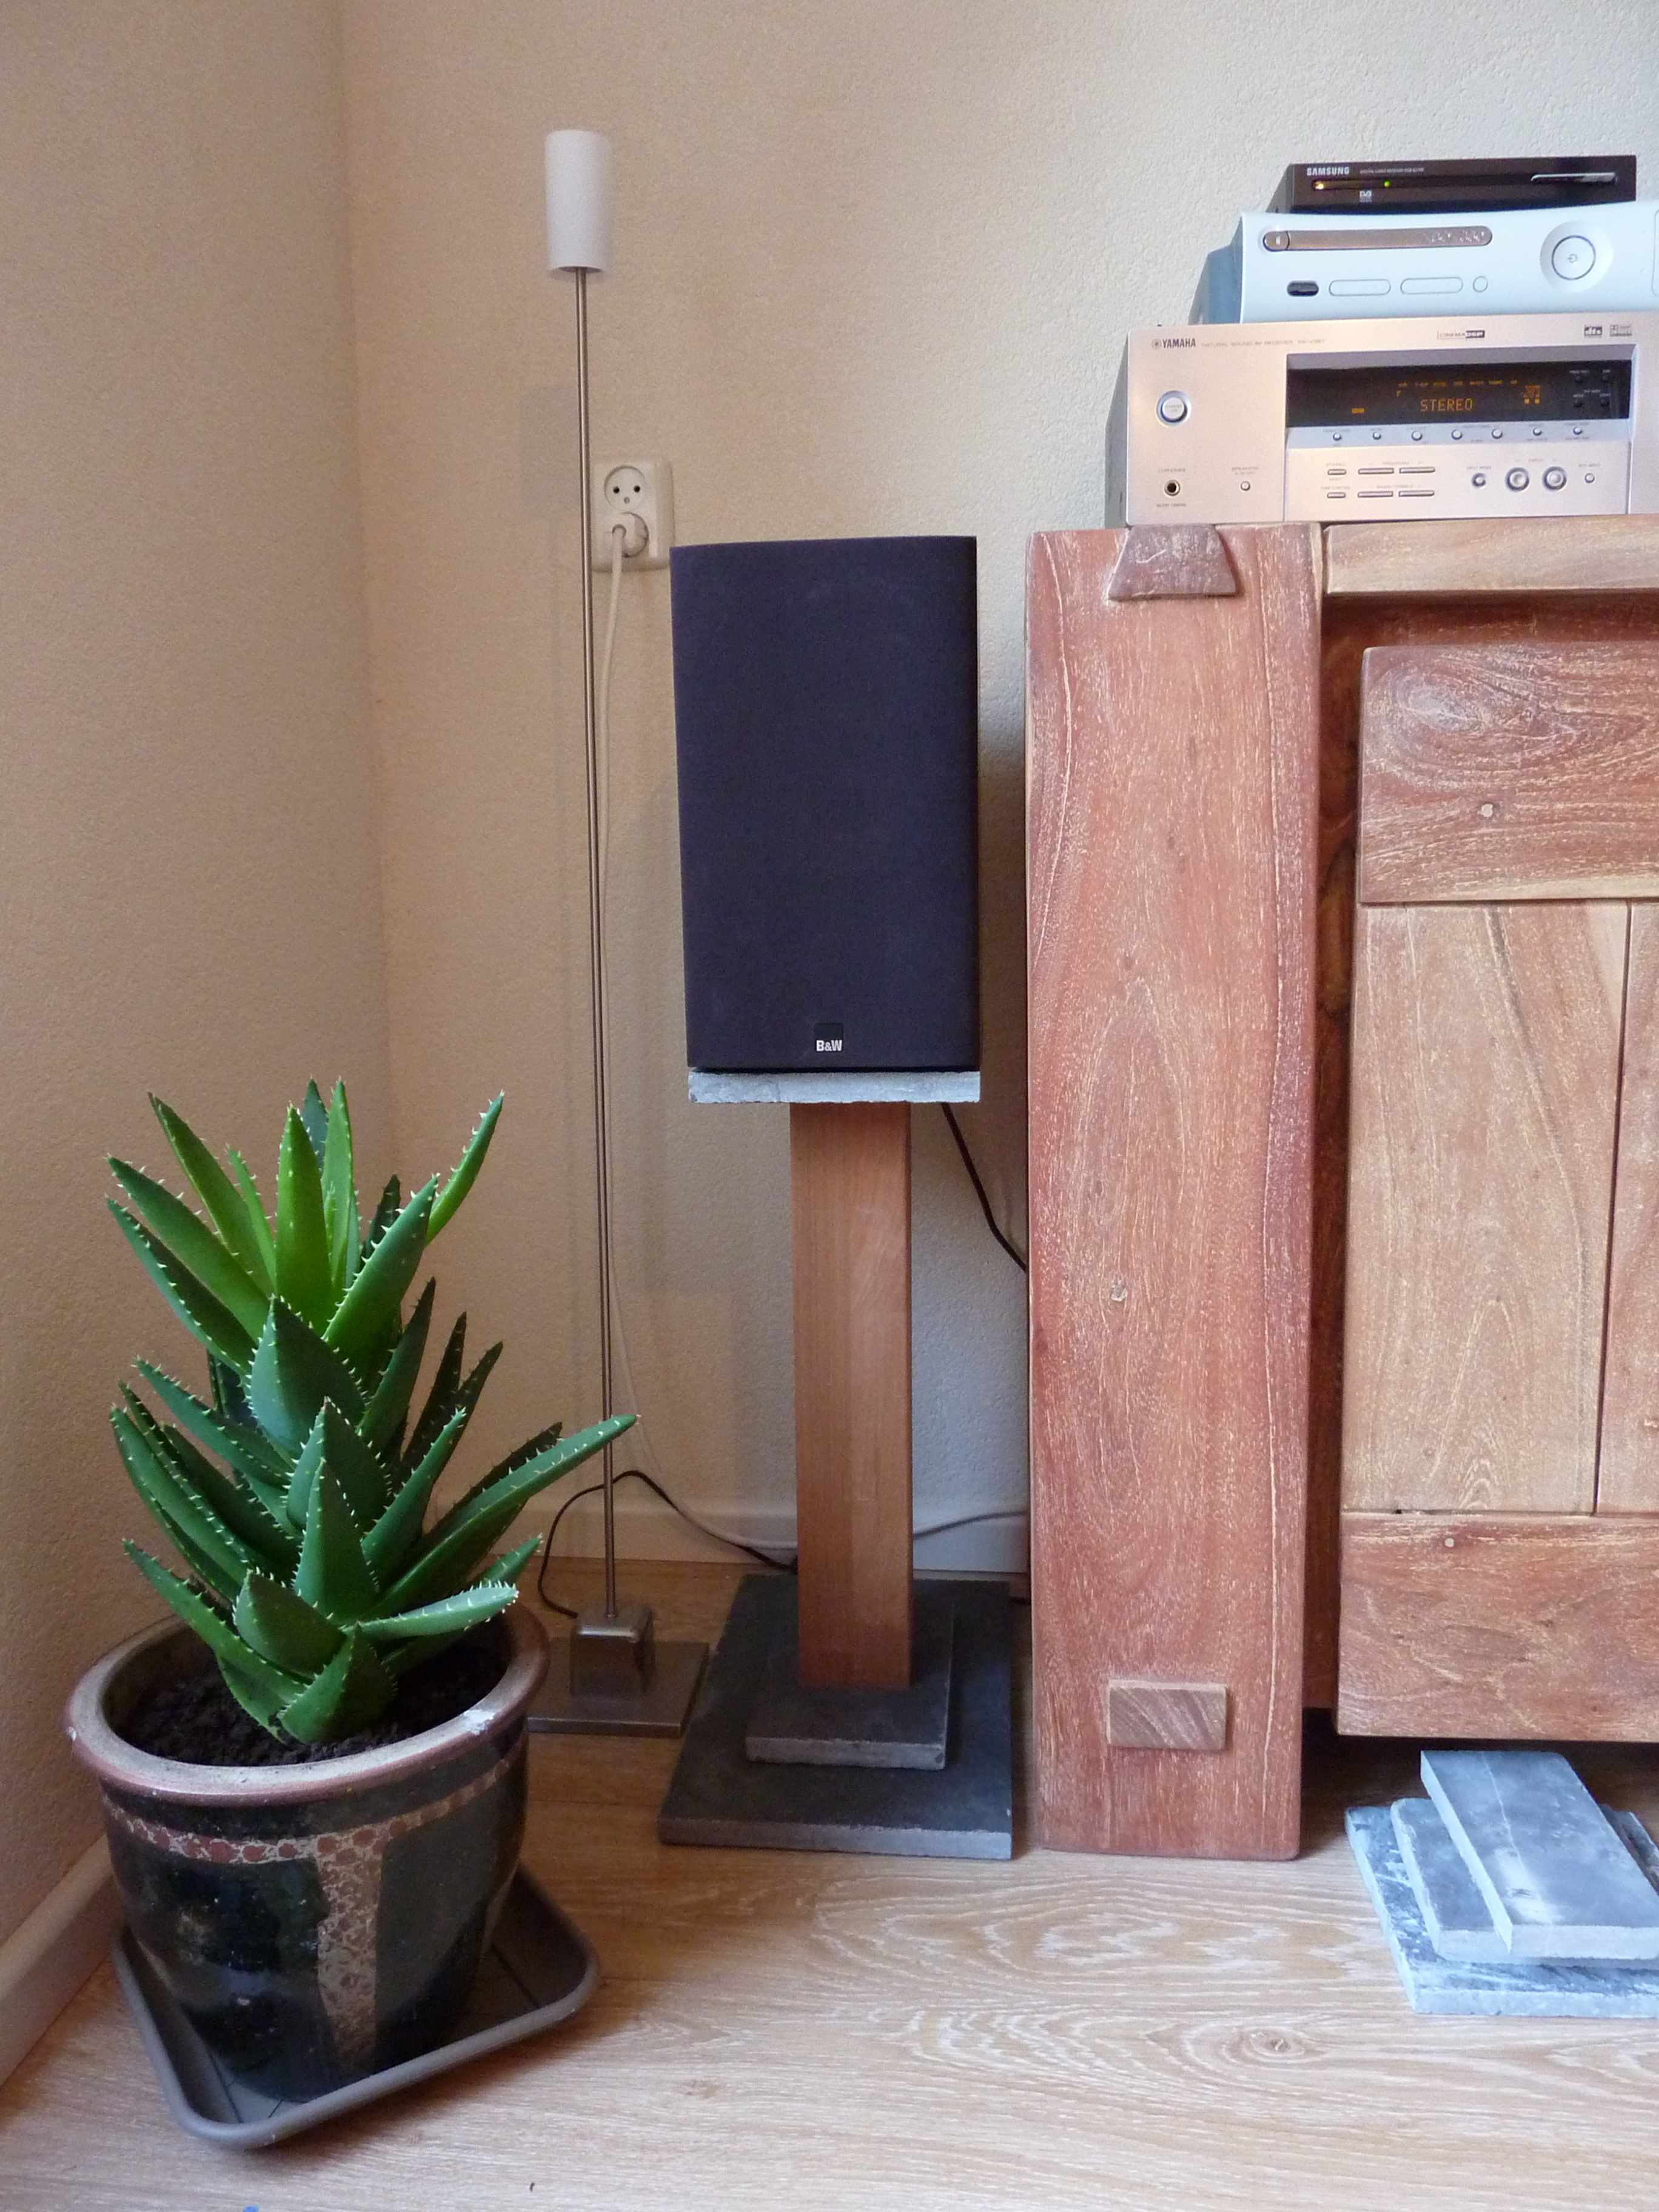
Wahey, we have the final pictures with a proper piece of wood. It wasn't too expensive, it's about 3 inches thick, square from the table leg section of the store.
Hope this helps. Surely someone will find this helpful for building. As I said in the introduction, making this with 2
or 3 smaller poles might make the look a bit more refined. You would also have little issues with improper angles using the 3 pole setup, as a off 90 degree cut of the pole would matter less.
The same production principles apply.
The only requirement would be more hole drilling in the tiles to acustom for the added poles.
I didn't bother making the surround stands yet. I'll leave those for another weekend.
Email : seth dot mos at dds dot nl.