Here is an idea of how long the payback time is. At 0,23 euro cents per kWh this bar slowly fills and all cells should turn green.
| This system has generated 40966.99kWh which amounts to about 9012.74 Euro | ||||||||||||||
| Inverter | Panel 1 | Panel 2 | Panel 3 | Panel 4 | Panel 5 | Panel 6 | Panel 7 | Panel 8 | Panel 9 | Panel 10 | Panel 11 | |||
|
| ||||||||||||||
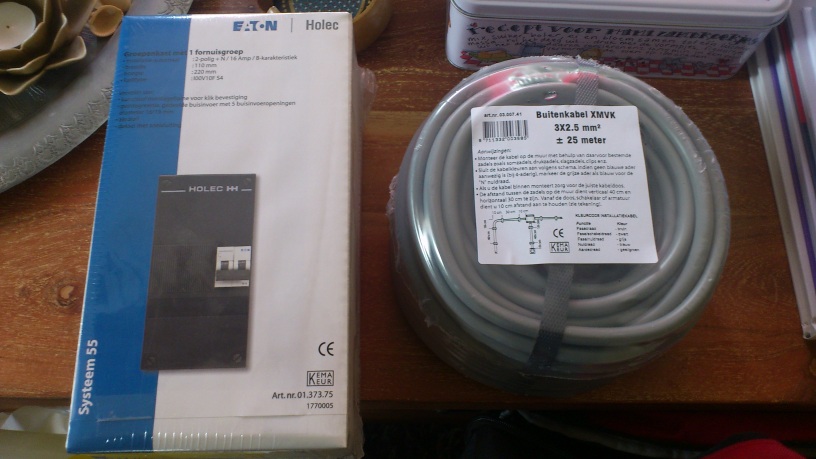
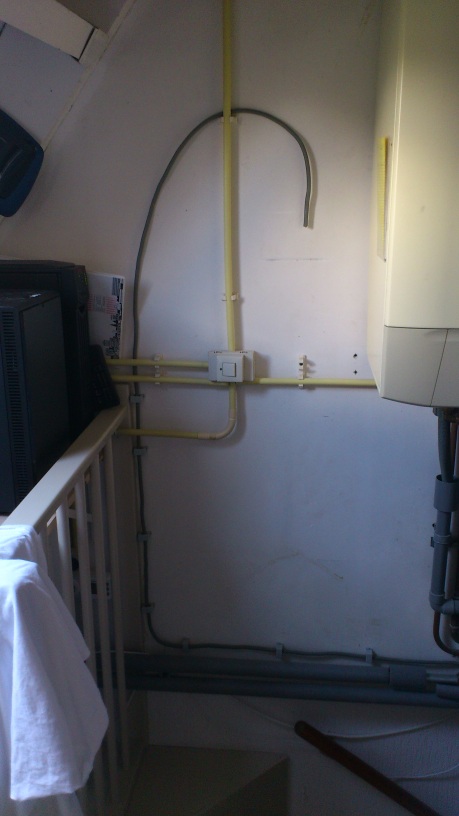
This Inverter needs a seperate 16A power group because it outputs more then 600 Watts as required by regulations. So I bought a new breaker box for the cupboard and 25 meters of cable. I had to run the wire upstairs to the attic, there is no space elsewhere in the house where I can hang the device easily. I really need a type 'C' slow fuse, but it came with a 'B' which is faster, I'll see how it goes. The inverter is rated for a average for 12, it's probably fine.
New Breaker Box with 16A breaker
Cable Upstairs
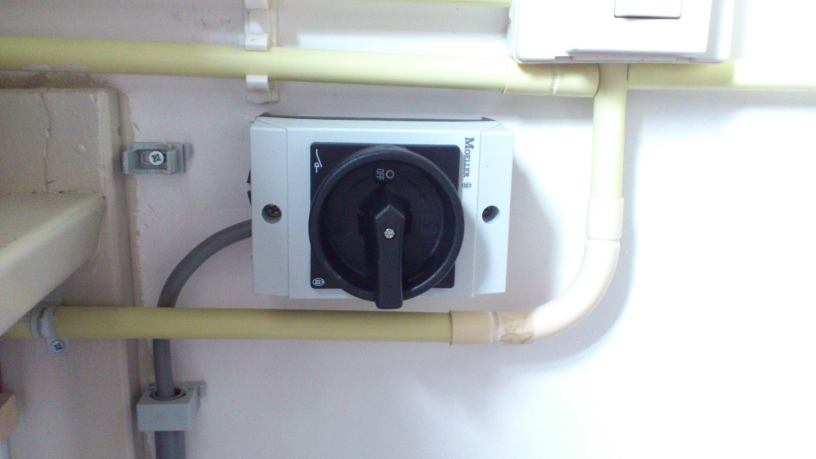
The SMA manual states that a power switch is required in the same room as the inverter. This model is easy to read and allows for locking in the off position. I have another red one that I will be using for the Solar Panel string.
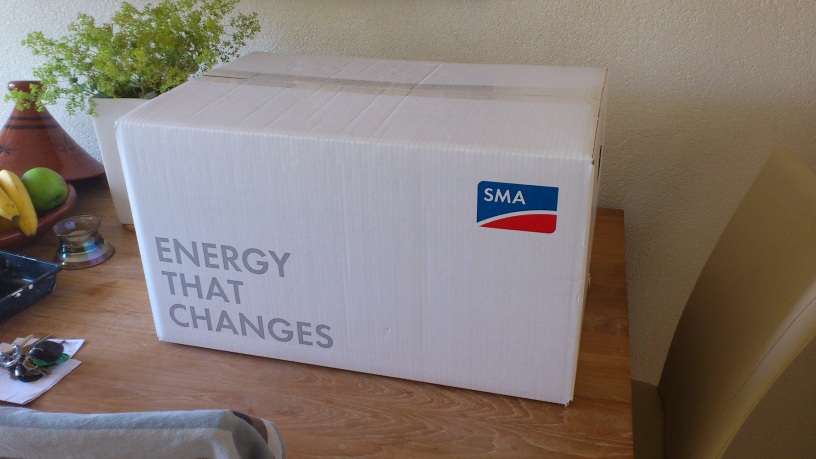
Hurray, the shipment arrived on 11-07-2012.
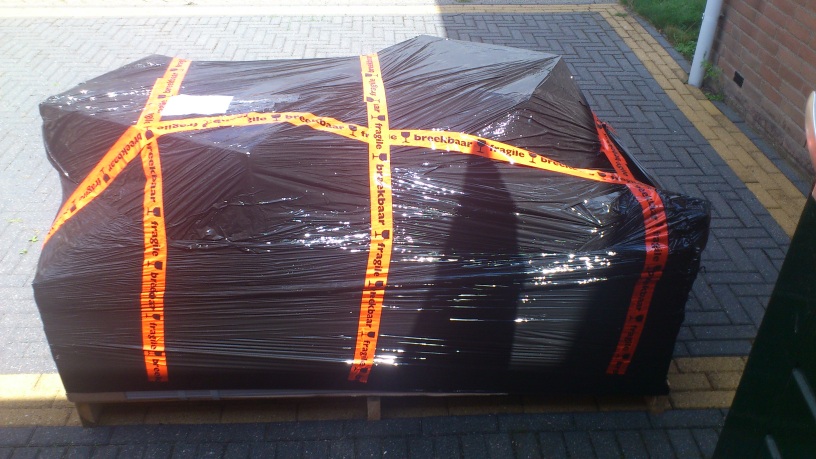
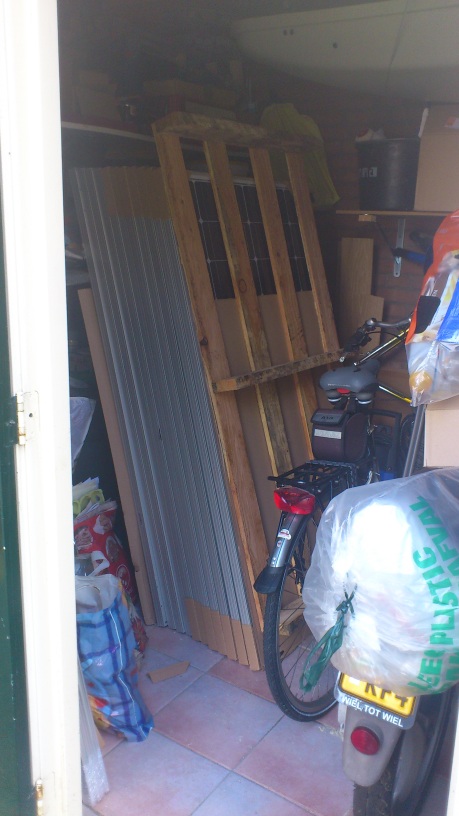
Shoved the panels into the shed for now until I can install them on the roof.
The Boxed SMA inverter.
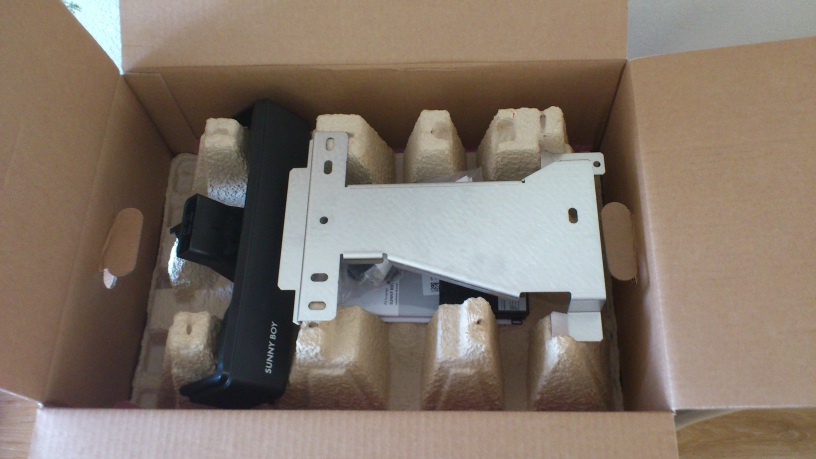
Wallmount Bracket and Solar Fuse.
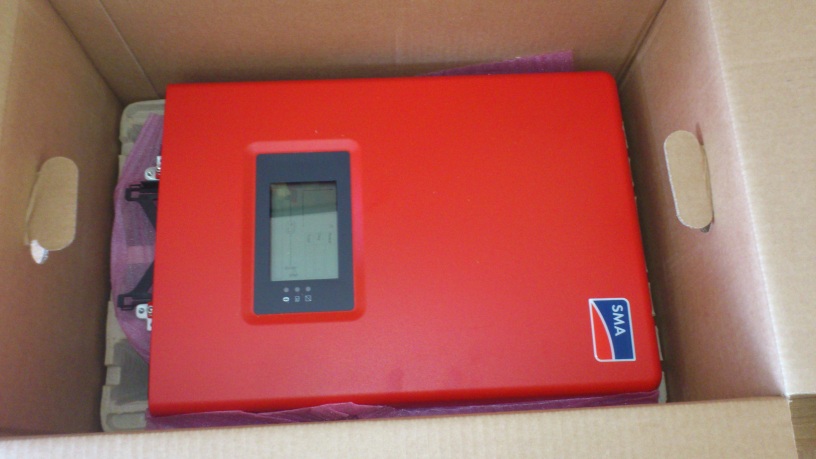
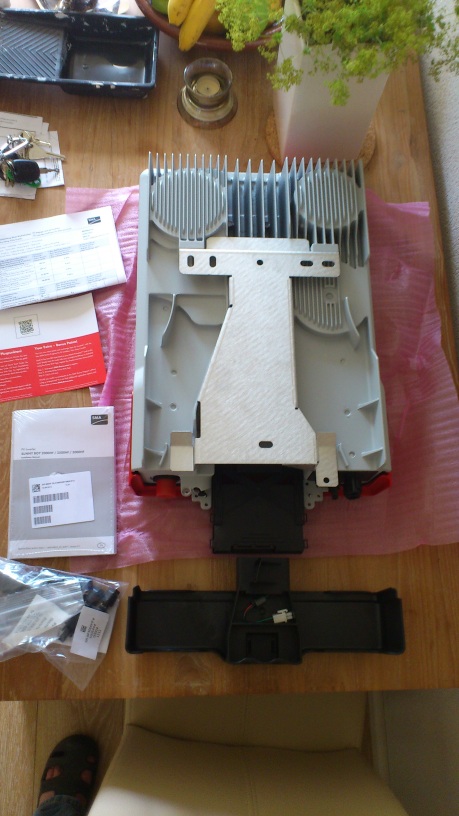
The SMA Sunny Boy 2000HF. It's a bit red, i'll probably paint the cover a shade of off-white so it doesn't conflict as much. The central heating is hanging on the wall next to it, which is white/beige.
That's one hefty heat sink. Although it does come with SunClix connectors, the are no screws for the Wall Mount Bracket included with the package. I've resorted to longer wood screws and washers.
Because of a existing power line I had to build a seperate bracket to go over the pipe. I didn't feel like moving the other AC wiring, this wil do just fine.
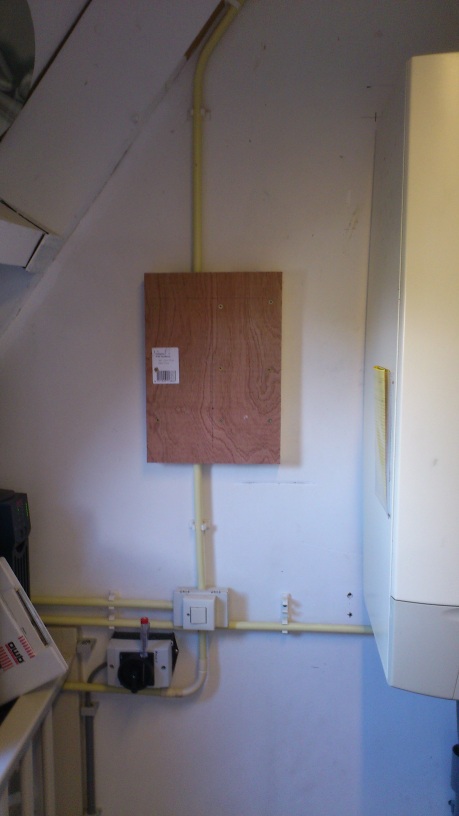
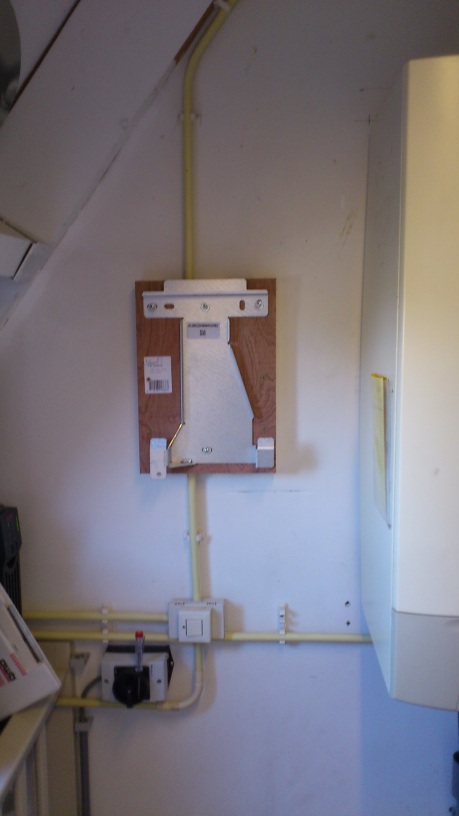
With the wall mount bracket that came with the Sunny Boy, you just hang it up and then secure it with a single plastic plug. Easy!
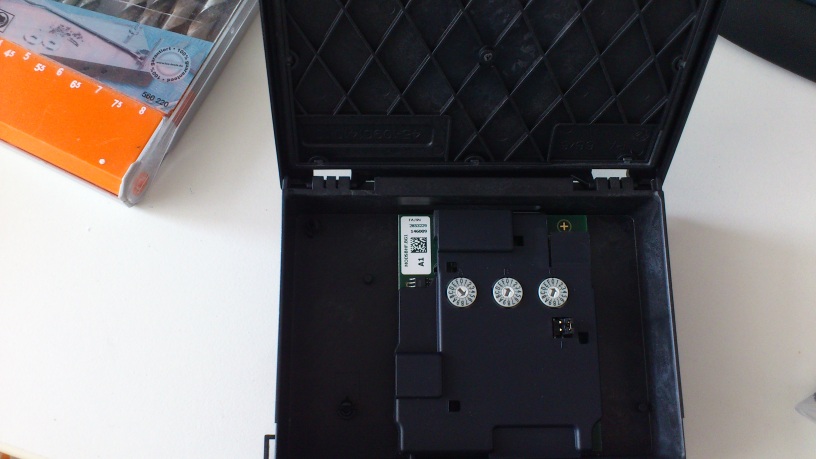
Set the Country code for A and B, to 6 and 1 for the Netherlands in the QuickModule. You can also do this later through bluetooth.
Mounted SunnyBoy 2000HF with the power cable fed in, the switch is still off though. It won't start up without DC connected.
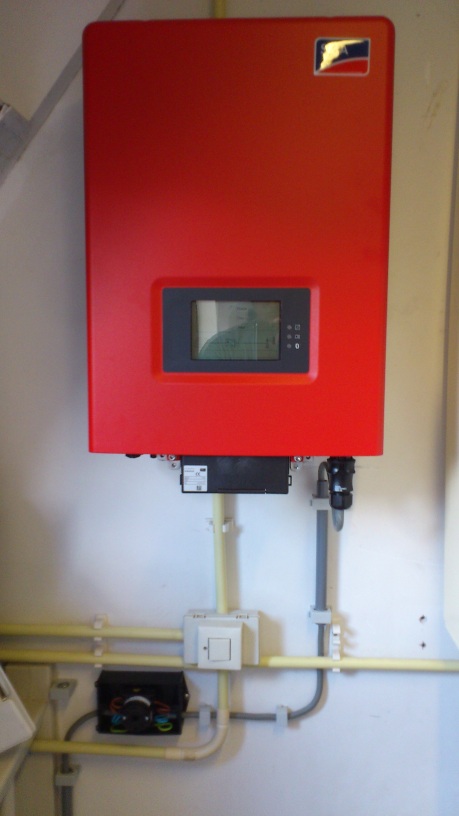
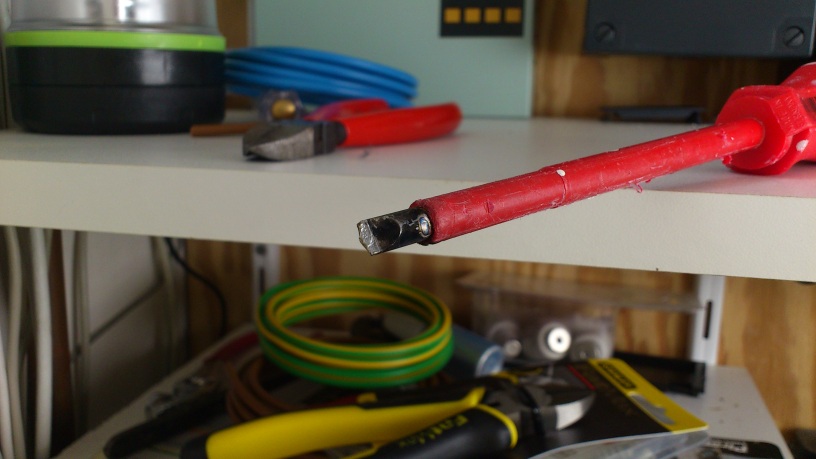
Please take due care during installation of the power group. Don't stick screwdrivers into a live breaker box. A 25A slow fuse leaves a really nice welding spot on your screwdriver of choice.
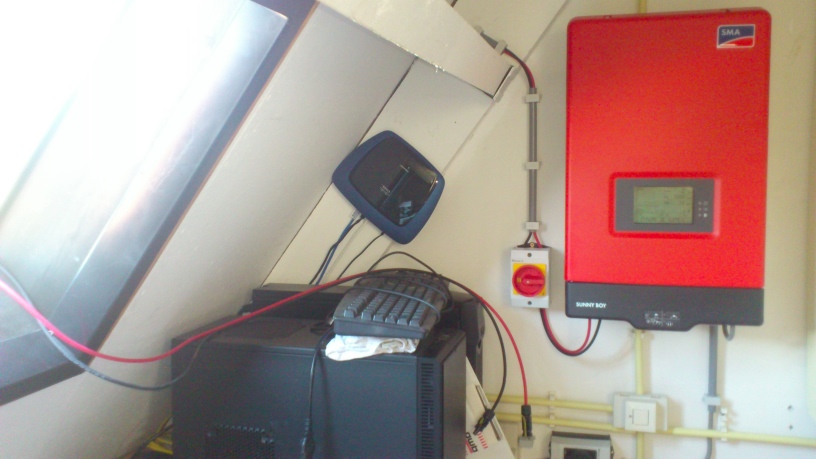
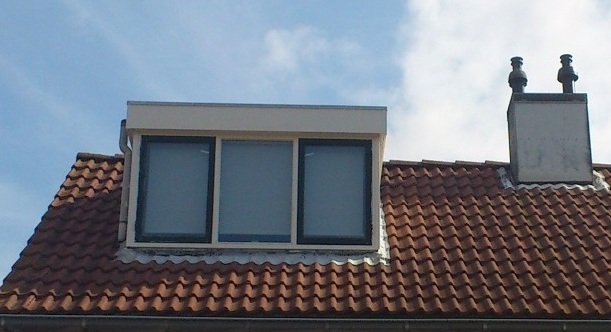
Installed the Solar DC wiring on 25-07-2012 and fed it through the roof. I've also mounted the big red switch so I can disconnect the Solar Panels from the inverter a bit more easily. The small roof window comes in handy because I could easily move the roof tiles next to it out of the way for feeding the cables through. I've left about 2 meters of length outside for the cable (6ft) for running the DC wire under the tiles to the 1st and last solar panel. You can use a normal AC switch for this, they are rated for atleast 600 Volt DC or 1000 Volt AC. Do NOT switch live consuming panels off though!
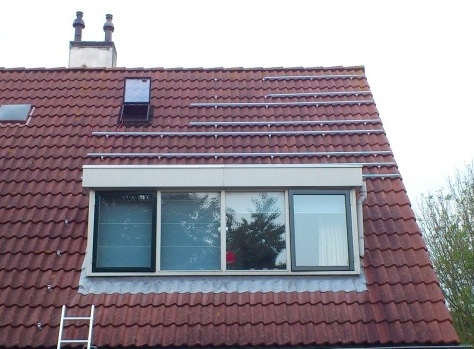
I've installed most of the the ClickFit hooks and rails on 28-07-2012, unfortunately i'm missing 2 section of 1 meter 80 (~5ft) so I can not finish up the rails. Boo. I might need to adjust all rails a bit to the left so that the panels come out "in the middle" of the roof. It's off by about 10cm to the right (4 inches). Installing the rails took me a few hours, I started at 5 in the afternoon and finished at about 8. So a good 3 hours of acrobatics. Use a Wedge! inserting one of the larger screws that comes with the mounting kit under the roof hook works as well.
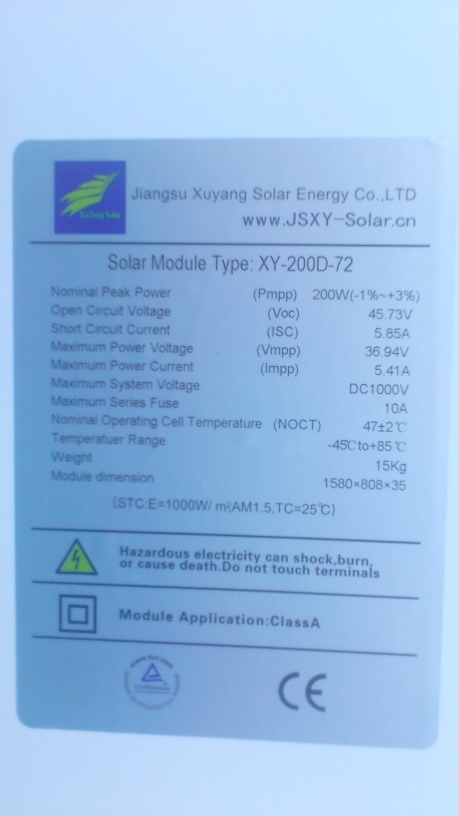
Made a photo of the panels I purchased, they listed them as a A brand. I purchased 195Wp initially, I got these "200Wp" panels. Only time will tell if they actually are, all fine with me. Since I'll likely forget what brand I purchased or someone asks me I can refer them here.
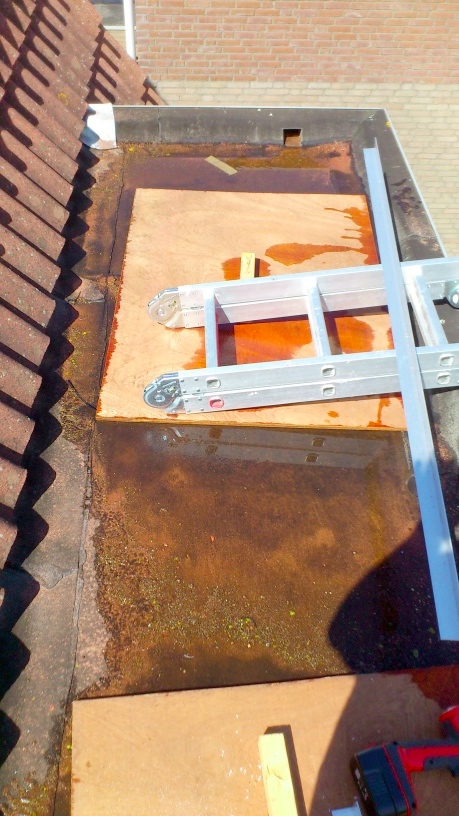
I put 2 pieces of multiplex wood on the roof of the chapel so I won't damage the roof, it also spreads the load. Make sure the roof is clean before laying them down!
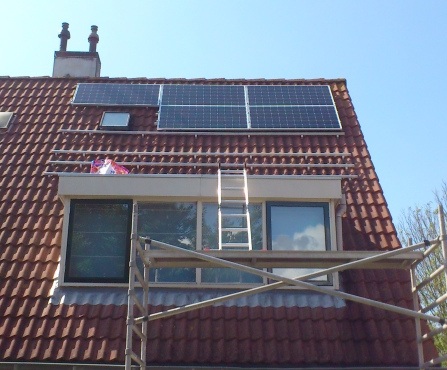
Ok, so I can't measure for toffees, but the other news is that all the rails is now in the middle and I've adjusted the height of half the clickfit rails so I can mount all the panels neatly together. The trick is that the 1st row has 2 tiles of space in between the rails. The second row has 1 tile of space in between the rails. Repeat for 3 and 4.
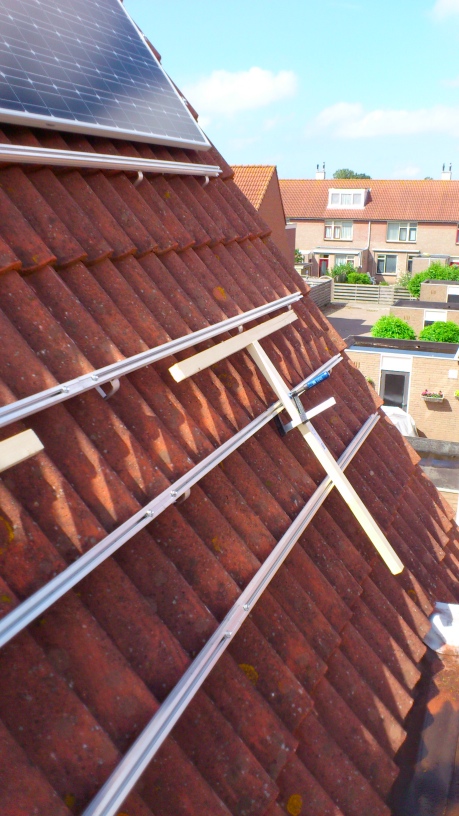
I've made a wooden T bracket that I mount with a wood clamp so I can make fitting panels a bit easier, it frees up hands. Even if you are with 2 people.
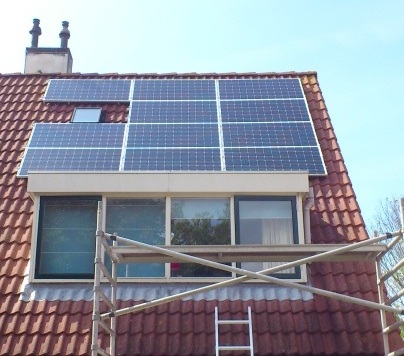
A few more panels on the sunday afternoon of 05-08-2012. It really does make life a lot easier with the wooden brace, unfortunately that does not work for the bottom row.
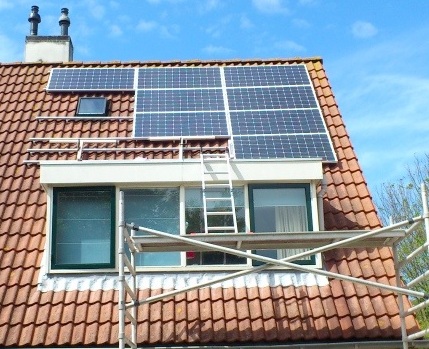
Temporarily clamping down a panel, careful with the glass though, make sure it is clamping on the aluminium rails.
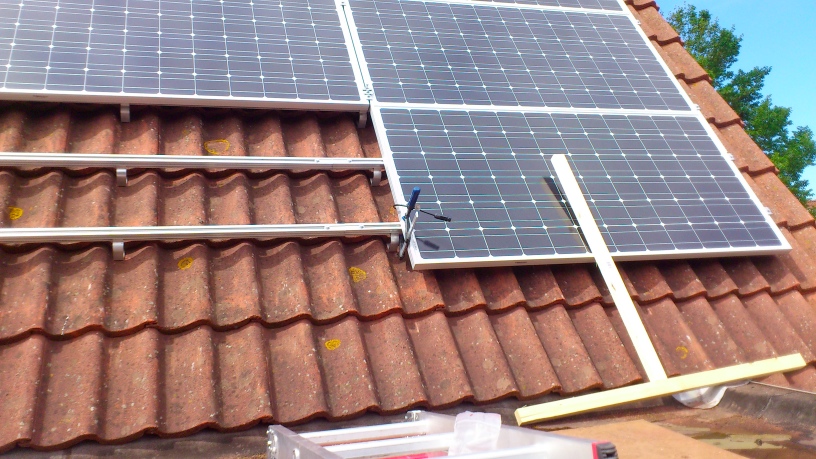
Everything installed, it's hard to see but I've attached aluminium L strip at the sides with stainless steel screws to make sure everything stays together. Added benefit, all the panels are now connected as well which will make grounding easier later, which is required for the transformer less inverters. The Sunny Boy 2000HF does have a conventional transformer (like the 1200), but at a higher frequency which makes it about 5% more efficient, which is less heat to dissipate in the inverter.
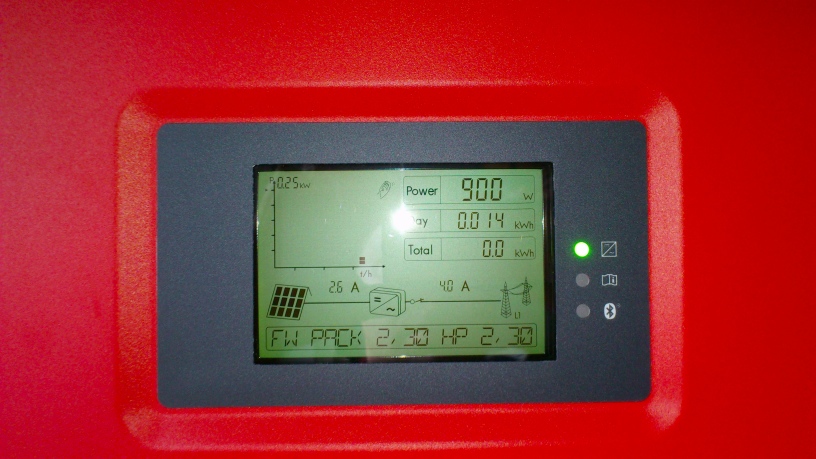
Checked with a multimeter if the string was wired up ok, got about 600 volts and the polarity was good. All good, threw the switches to the ON position and the inverter sprang to life. The Sunny Boy is all happy with the panels and I got a healthy 900 watts. It was already 2 in the afternoon, so the sun was high and the roof is 50 degrees steep, so this about expected. It will do a lot better in the morning hours.
I fired up Sunny Explorer and connected the inverter by bluetooth. Not much I needed to configure. Changed the user and installer passwords and activated the OptiTrac algorithm which is off by default. It was one of the reasons I got this more expensive inverter because I have a lot of shade starting from 4 in the afternoon. I also have the shade from a chimney starting from 2 in the afternoon.
I've setup logging using a PCengines.ch Alix 2D13 with Debian 6 on a 8GB CF card. I added a AVM BlueFritz! USB 2.0 adapter to connect to the SMA SunnyBoy 2000HF. This went until I tried to get sma-bluetooth working. It failed initially because the 2000HF is unknown, the 3000TLHF type does work though. After this hurdle it started up, appeared to communicate with the SB2000HF but failed to insert new records in the MySQL database.
After some searching on the internet I found a cloned project here that fixed a number of issues with invalid records and it it happily inserting records in the database now. It automatically uploads the data to PVoutput.org now. It's set to upload every 10 minutes using a cronjob "*/10 * * * *".
Here is a video with Dutch voice of the 1st operation of the inverter.
So far, after a few days of operation with clouds and rain it has managed to generate 5 and 6kwh respectively. I should have a far better idea how it performs in a number of weeks. For now I'm like a child with his new expensive toy. Hurrah.
The Dull stuff. So adding all the costs up I have the Solar kit (inverter, panels and fixing) for 2880 and the circuit breaker and cabling for 200. That comes out to about 3000. The Alix was a 100 euro. The bluetooth usb stick I had lying around. So that brings it upto 3100 euro and some loose change for assorted screws and aluminium strip.
The current electricity price is about 22 to 23 euro cents per kWh. That means that I need to generate (3100 / 0,23) = 13.478kWh before the break even point. At something like 4 kWh per day it would come out to 3370 days, or about a good 9 years.
Keep in mind that those are very cautious estimates, I'm on a east facing location and on a cloudy summer day I can already do 5kWh. The winter should tell a very different story. Since I started generating somewhere on the latter part of the summer it's to be expected to be longer. I missed the better part of the summer sunshine already. People that have a southern orientation for the panels should do a whole lot better.
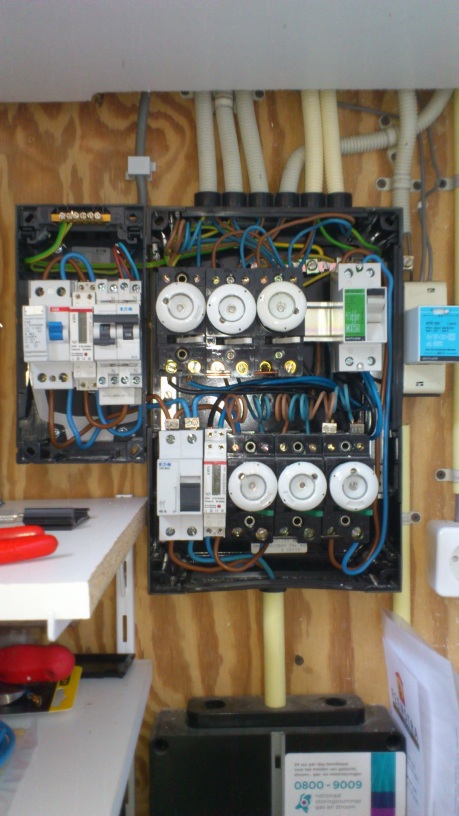
I've installed 2 kWh meters with a S0 port for measuring in the breaker box. These are about 40 euro each. If you are not comfortable working in a breaker box then DO NOT do this yourself. Get a installer instead. It now looks like this.
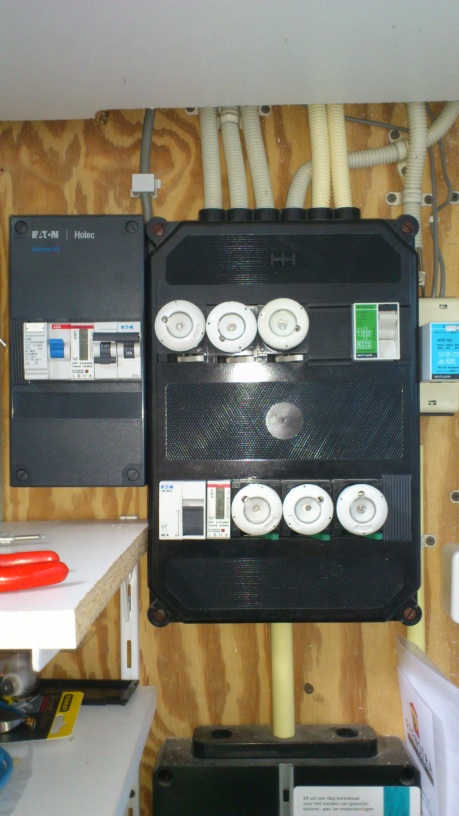
So basically from the master switch in the bottom left it becomes a Y. The left box is for the PV, note that the kWh meter is connected reverse because the current flows in the other direction. This particular model only measures kWh when it is going one way. Some models can count both ways as up, others again subtract when it is flowing the other direction. Check your own model if you do so.
The right part is the original house breaker box connected to the 2nd kWh meter. This way I can measure what the house is actually using. My main energy meter is sealed by the power company and would only show the surplus of the data. Also, because the original energy meter is from 1963 it has no such easy to read ports. It's a standard spinning disk type, but harder to read by a computer.
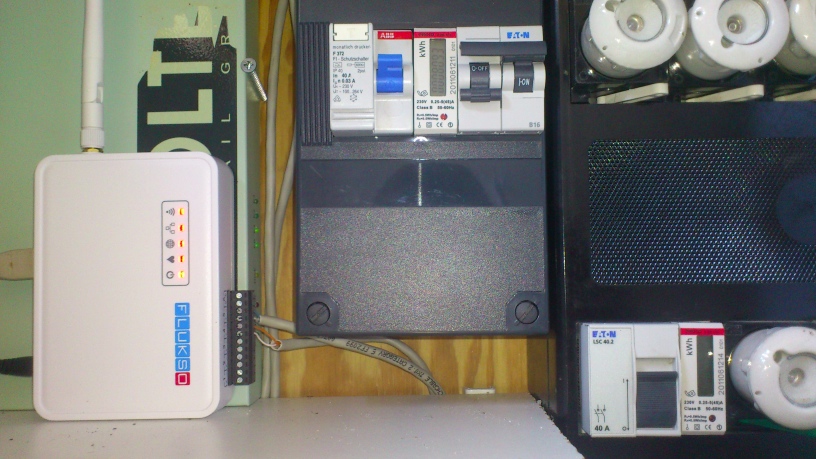
I've purchased a Flukso Meter from www.flukso.net which costs about a 100 euro and can easily read the S0 ports on the 2kWh meters so I can measure all generated and used energy. This device is also listed on PVoutput.org as a automatic upload mechanism so you can show Energy used in your charts. They also have probes for water and gas but I've no idea if I can use those yet.
I've connected the orange wires to the S0 port of the PV kWh meter (left) and the blue wire to the kWh meter for the house (right). Mind the polarity on the ports otherwise it just won't read anything. The 2 UTP cables I've used for this enter the breaker box in the top via an existing hole. The ports 4 and 5 on the Flukso are the digital reading ports.
I've added 4.6Wp to my solar installation! I got 4 small 5 Volt 1.15 Watt solar panels to drive a 12 Volt computer fan. (2 in series, 2 strings parallel)
After some consideration I've come to the realization that I will also need to bathe the front of the house in solar panels. The plan is to move 3 out of the 11 east panels to the west, purchase 5 more new panels and create 2 strings of 8 which I can wire in parallel to the Sunny Boy 2000HF inverter. The inverter has something called OptiTrac which is a MPP algorithm which can deal with shaded panels, I'm hoping to put that into good use for the panels facing west.
The cost for 5 more panels and assorted materials will come out to about 1150 more euros. That would make the total investment about 4300 euros in total. I might still be able to get some government incentives (15%) over the 1150 euro system expansion. This would effectively make my install a total of 3200Wp on a 2000Watt AC inverter. However, since 1600Wp is facing east and the other 1600Wp is facing west I will likely not be limited by the 2000Watt AC limit of the inverter.
Strangely enough, the extra panels and investment will bring the Return on Investment down because I can use this on the same inverter. This makes it a lot more cost effective. This should shave a good half year of the 10 years or so I would need otherwise.
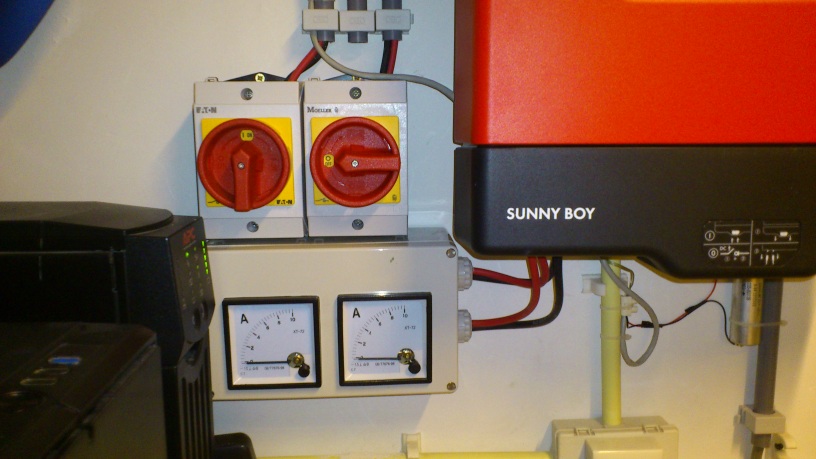
Because I like analogue dials a lot I purchased 2 analog DC current meters 0-10 Ampere on eBay for 7 euros each (about 10$). That way I can see which string is delivering more power as the inverter only has a single MPP tracker and would thus only show the combined output of both strings. I also have a analogue DC volt meter on order from eBay for about 7$ that measures 0-500 Volts DC.
I'll have to see if the scales work properly since the nominal current for a single string is 5 Ampere. So I might order 2 more DC current meters ranged 0-5A at some point if I never hit 5A on these units which are ranged 0-10A.
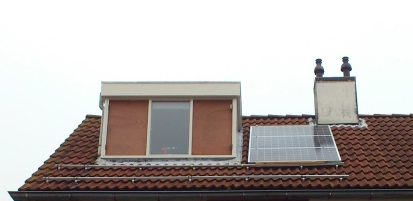
I've managed to install 3 of the 6 panels on the west side of the house, but I'll need to source some help for the remaining 3 horizontal panels. I've put a wooden brace in place of the panel which is supposed to sit on the right bottom corner. I ran out of time and courage, so this was a stop gap measure to make sure it stays in place.
There is a huge gail right now with gusts of about 100km/h and it appears to hold. Thank goodness.
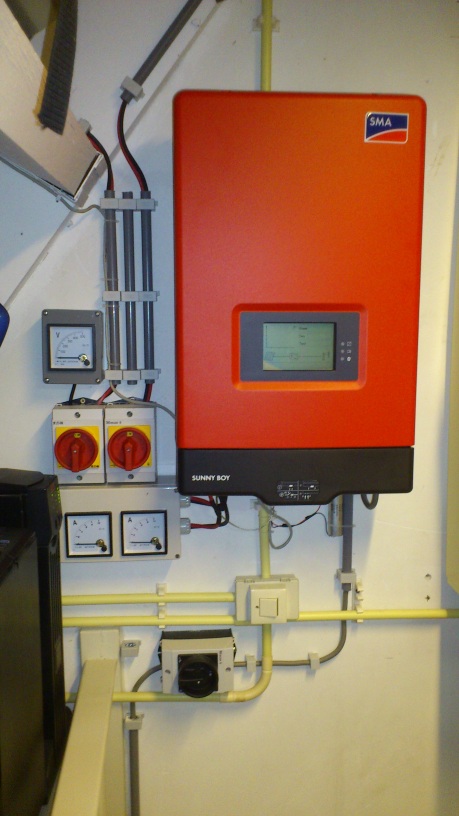
More meters! I finally got the analog volt meter from china in. I've stuck it on the east string since that is the longest and thus has the highest voltage in open condition. As soon as the inverter kicks in the voltage is dropped down to MPP level and then voltage drops below the open circuit voltage of the west string. I also added a diode in each string so that the string with the higher open voltage is not delivering current into the smaller string, which is pointless. Again, not a issue when the inverter kicks in, the last 2 panels are still awaiting install which would make the voltage nearly identical.
Contact by email seth dot mos at dds dot nl